Have you ever thought about learning Linux? Only to stop short after a bit of exploring. Too intimidating? Difficult to get started.
I’ve felt that way many times. But then I had a need that required Linux. Had to have it working to solve a pressing problem, And I did not want to dedicate a computer just for the cause.
Hard drive partitioning came to mind. Dual booting to either Windows or Linux. Messy for sure. Definitely not portable from one computer to another. There had to be a better way.
The answer was simple…
Setup a Linux distribution on a USB stick. Boot to Linux with the stick installed, boot to Windows with the stick removed .
Windows remains intact. With this approach, nothing is installed on the computer.
Hmmm. But how do you set it up? And after that, how to you write, compile and execute programs? Sounds complicated.
It’s not. Here is a quick and easy way to set things up….
What you need for this guide:
- x386 based PC capable of running Windows OS
- USB stick with 4GB capacity or more
We start with the blank USB stick. Then head over to this site to download a copy of “Puppy Linux”. For this setup, we are going to use Puppy Linux, a light-weight distribution that is easy-to-use, perfect for a first-time user.
To download the software, first click on the “Select Distribution” pull-down and scroll down to “Puppy”. I recommend selection of the “Tahrup” option from the list. The “release announcement” link will provide access to the download. You will need 2 files;
- The ISO image
- The “devx” SFS file. This contains the compiler and other software tools
You can get both of these files at this site.
Great, now you just need to get the USB installer program and your ready to put it all together. Pick up your copy here.
The installation is simple. Just install your USB stick and start the installer program. The start up screen will provide 3 easy-to-follow instruction steps.
- Select the distribution (Select “Puppy”)
- Select the iso file (from the folder that has the downloaded ISO image)
- Select the USB stick drive letter.
Once this is complete, simply copy the downloaded “devx” SFS file to the root folder of the USB stick. You are now just one step away from completing the setup. All that remains is configuring Linux to startup with the software development tools active.
How?
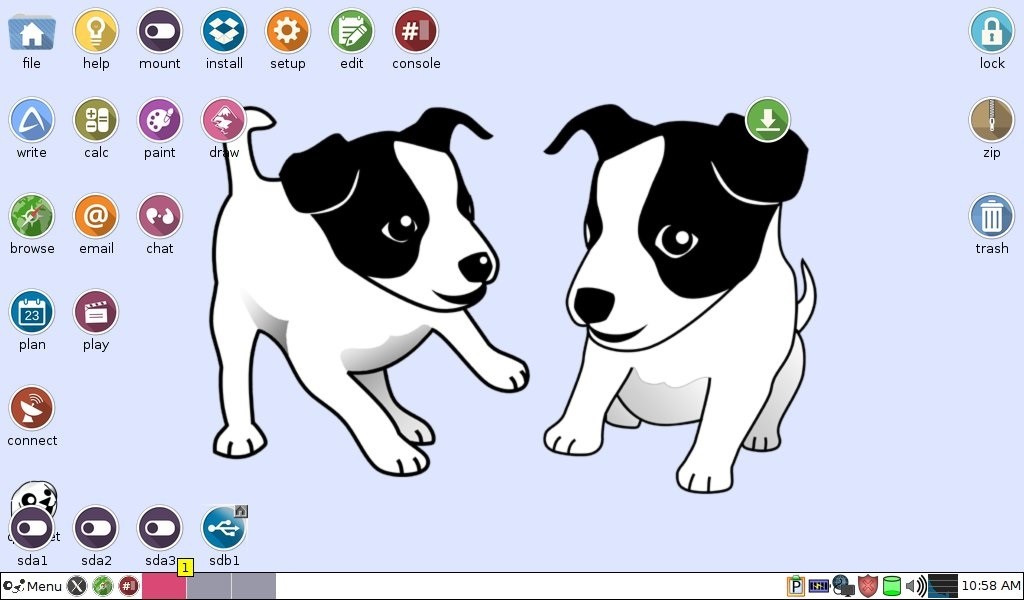
All you need to do is reboot your computer with the USB stick attached and the PC set to boot first from the USB drive. The start screen should look similar to this…
Congratulations on making it this far.
You have successfully booted up to the Linux OS. But have no fear, nothing has been written to your hard-drive. You can return to your normal PC configuration at anytime by rebooting with the USB stick removed.
Now, on to the task at hand…
Starting up Linux with the development tool set.
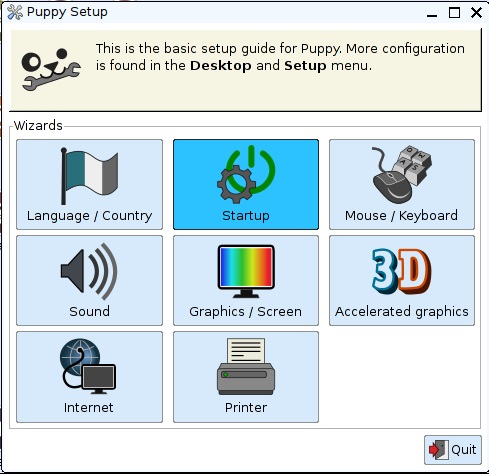
Good news is that you only need to do this once. First, click on the menu in the lower left hand of the start-up screen, selecting:
Menu>Setup>Puppy Setup.
Then click on the “Startup Icon
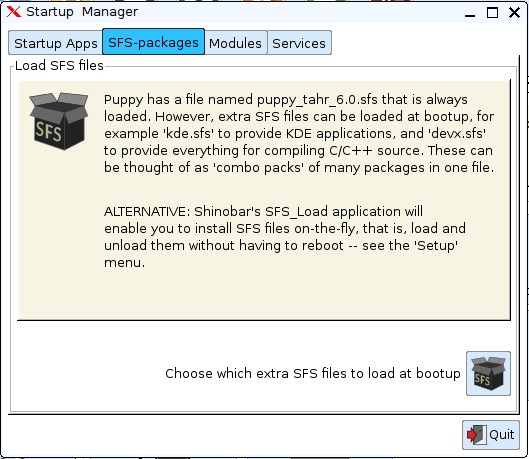
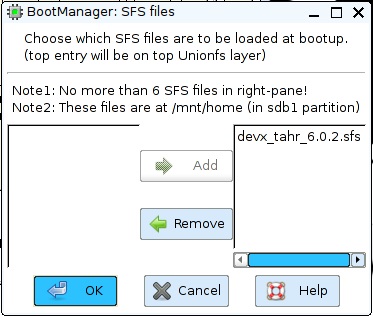
Next, select the “SFS-packages” tab and click on the icon labeled:
“Choose which extra SFS files to load at bootup”
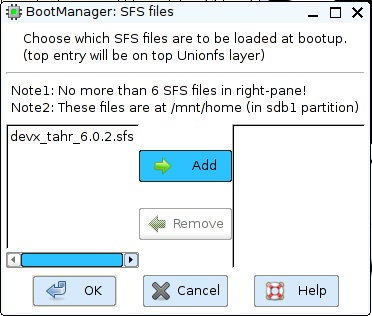
The file “devx_tahr_6.0.2.sfs”, the file you put in the USB root folder, should be listed on the left. Select it and click on the “Add” button.
Click “OK” to complete the SFS package at startup selection.
Now close all the open windows and reboot Linux from the menu.
Menu>Exit>Reboot
That’s it!
Everything is in place to create and execute programs now. To test this setup, let’s code and run the classic “Hello World!” program…
Let’s keep things tidy by creating a folder for programs we create. And to keep things visible when we use the USB stick with the Windows OS running, the folder needs to be located under the “Home” folder. That is the Linux folder that appears as the “root” folder under the drive letter assigned by Windows.
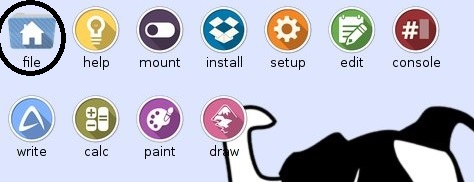
To navigate to the Home folder using the Puppy GUI, first click on the “file” icon from the startup screen.
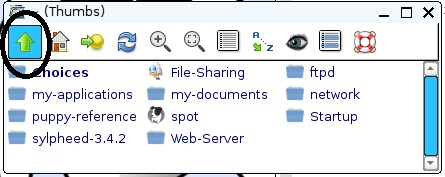
Click on the left “up arrow” icon to get to the parent folder.
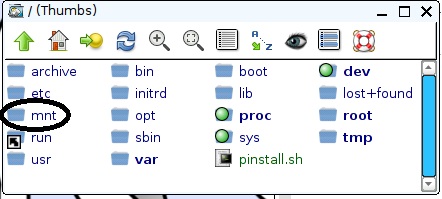
Then select the “mnt” folder.
And finally, the “Home” folder.
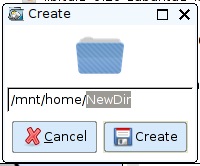
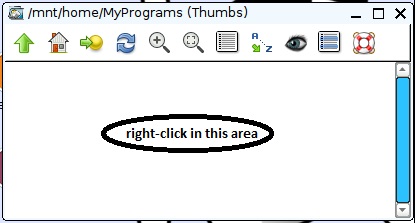
To create a folder, right-click the mouse in the home folder list of files and select:
New>Directory
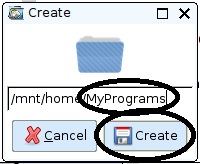
Change “NewDir” to “MyPrograms” and click on the “Create” button.
Now click on the “MyPrograms” folder. We shall now create one additional folder under this one for our first program. Just like before, to create a folder, right-click the mouse in the MyPrograms folder list of files and select:
New>Directory
Change “NewDir” to “HelloWorld” and click on the “Create” button.
Now click on the “HelloWorld” folder. This time, to create our source code file, right-click the mouse in the HelloWorld folder list of files and select:
New>Blank file
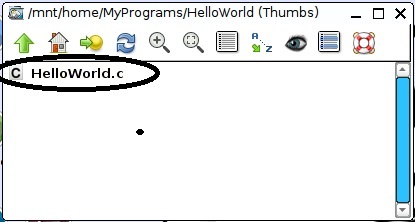
Change “NewFile” to “HelloWorld.c” and click on the “Create” button.
Click on the file listed as “HelloWorld.c” to open the file editor.
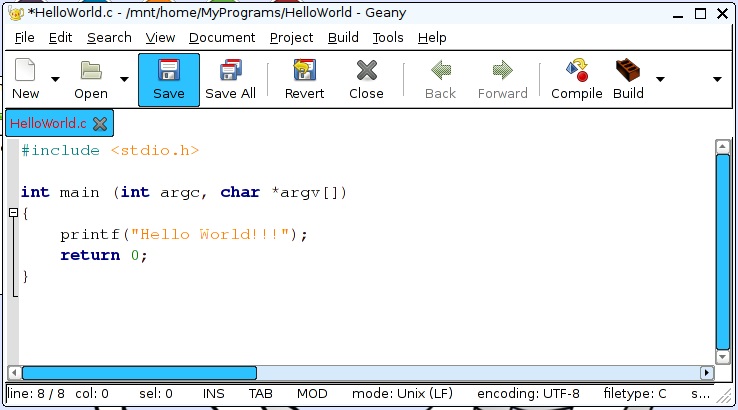
For the minimal first program, enter the following:
Click on the “save” icon to finish the creation of this file.
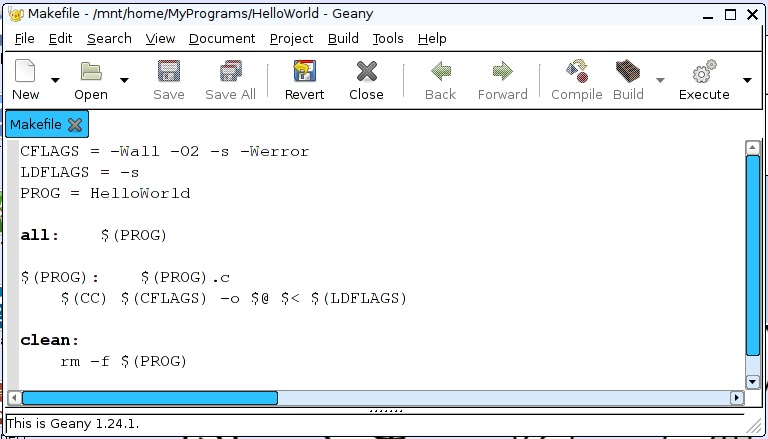
Now we need a “Makefile” to define how to compile and build the program. This will be a minimal Makefile for this first program. Just like the “c” file, create a file named “Makefile” and enter the following contents:
Got it? Now we are ready to build and execute the program. This can be done two different ways.
- Using the GUI editor we currently have open.
- From the command line.
Since the GUI file editor is already open, let’s first build and run the program from that environment. This is really easy. Like 1-2-3…
Build and Execute Using the GUI
Step 1: Select the “HelloWord.c” source code file tab.
Step 2: Click on the “Build” icon.
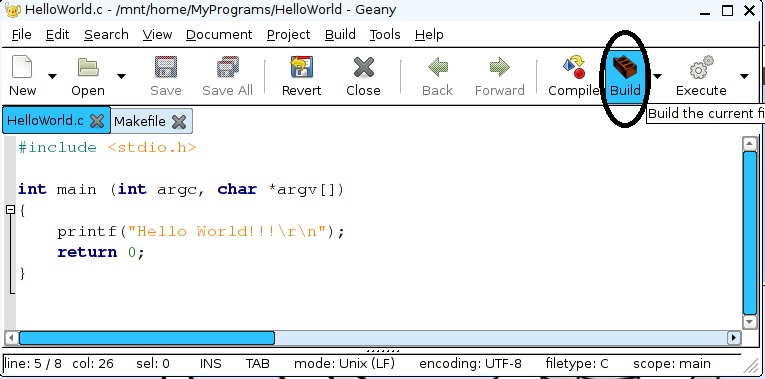
Step 3: Click on the “Execute” icon.
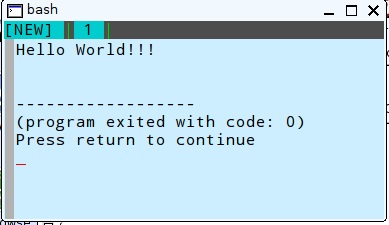
Our one-line “prinf” command correctly displays on the console when the program is executed.
That’s great for a quick compile and run. But what I found is that if your program contains errors, nothing is displayed indicating what went wrong. Fortunately, there is a way to get needed error messages, when they occur. It requires you to use the command line to build and execute.
Fear not! It really is not that difficult…
Build and Execute Using the Command Line
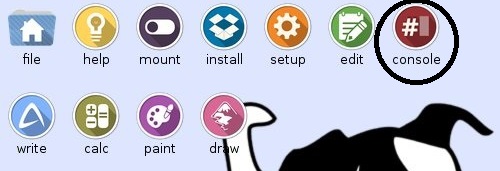
Now let’s do the same thing from the command line. To open a command line window, click on the “console” icon.
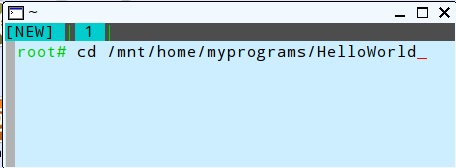
Then switch to the HelloWorld Folder:
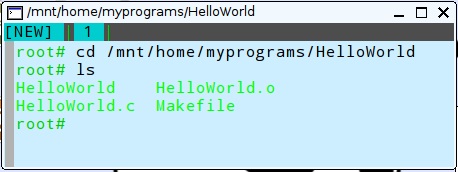
You can view a directory listing now to verify the source and “Makefile” files are present with the “ls” command.
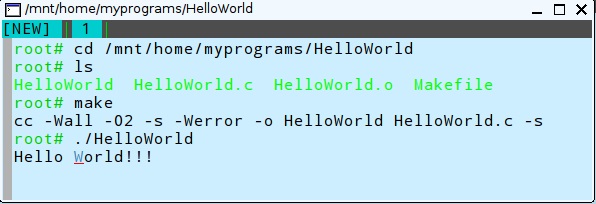
Now we can build the program with the “make command”. And run the program with the “./HelloWorld” command.
That’s it. You are now setup to build and execute programs built for Linux.
Now let’s see what happens if we put an error into the program. Enter a bogus line after the printf statement. Like “junk;”, for example. When we try to “make” this program with the error injected, an error is returned. Unlike the GUI, with no error information provided, this provides you with an indication of what went wrong.
So you can quickly correct the error.
Conclusions
Here you have a simple reference to use to setup a Linux development environment. It is another tool to add to your “bag of tricks”. You never know when it will be needed. Like when the only solution available must be run using Linux.
It’s up to you now to explore Linux further. This open-source OS is well supported. You will find all the information you need, as you need it, on-line using basic keyword searches. So have some fun with it!
Hope you find this information useful.

