Creating a native MQTT App provides a convenient platform for complete customization of any IoT project. Yet the effort to develop a Android Studio App can seem daunting. With a huge learning curve just to accomplish the simplest of tasks.
To my surprise, however, I found it reasonably simple and easy to create a basic app framework upon which to expand into a full-blown tool for MQTT interactions.
For those that just cannot wait, here is the project. You can even install the apk file app-debug.apk on your Android device now.
Keeping things reasonably simple and easy, here is how I did it…
Installing Android Studio
This was as easy as a google search and file download. Use this link to install Android Studio on a PC with Windows 10 operating system.
Creating the Project
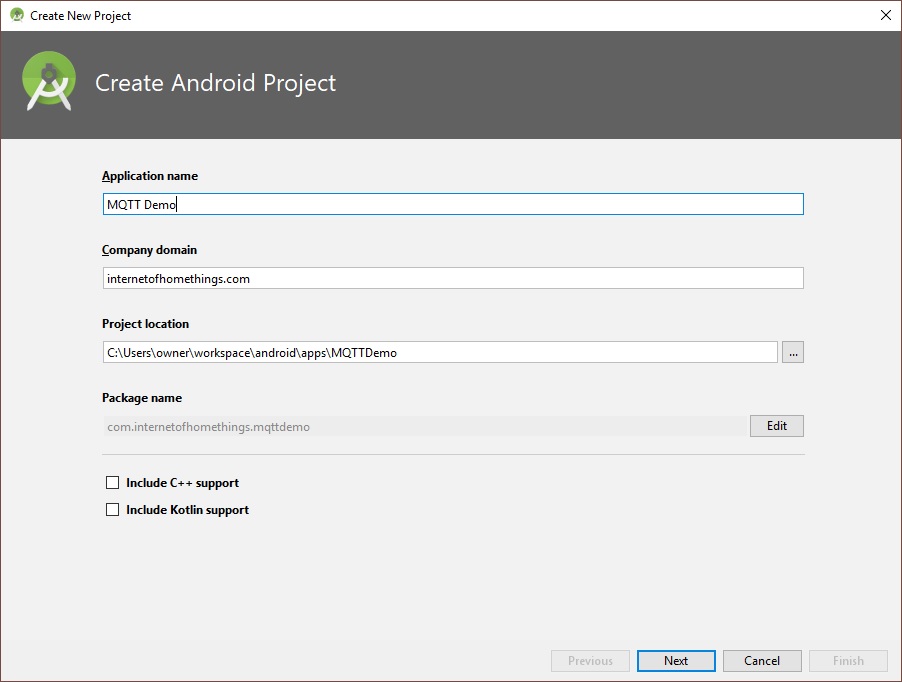
After installing and opening Android Studio, create a new project (File->New->New Project…
Enter a name for the project and click “Next”. The project location can be anywhere on your hard drive, ending with the folder name matching the project name:
These were the default settings used on the next screen:

Next, Select “Bottom Navigation Activity”.
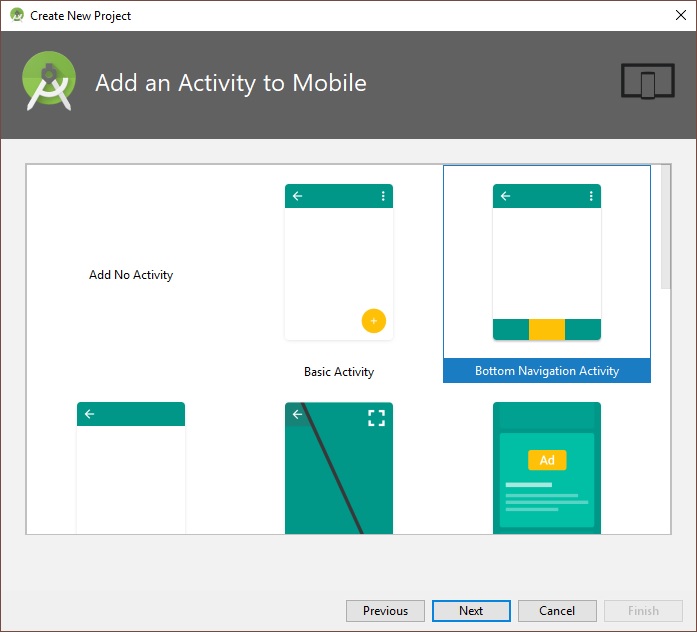
Use the default activity name:

Click “Finish” to complete the App framework creation.
The demo App will build.
Before we add the code for MQTT, it would be a good idea to build the apk and install the app on your android device to make sure the framework is functional.
Select Build-> Build APK(s) from the menu.
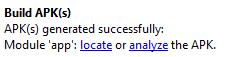
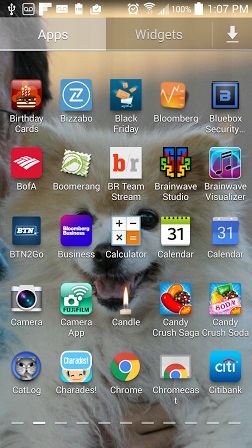
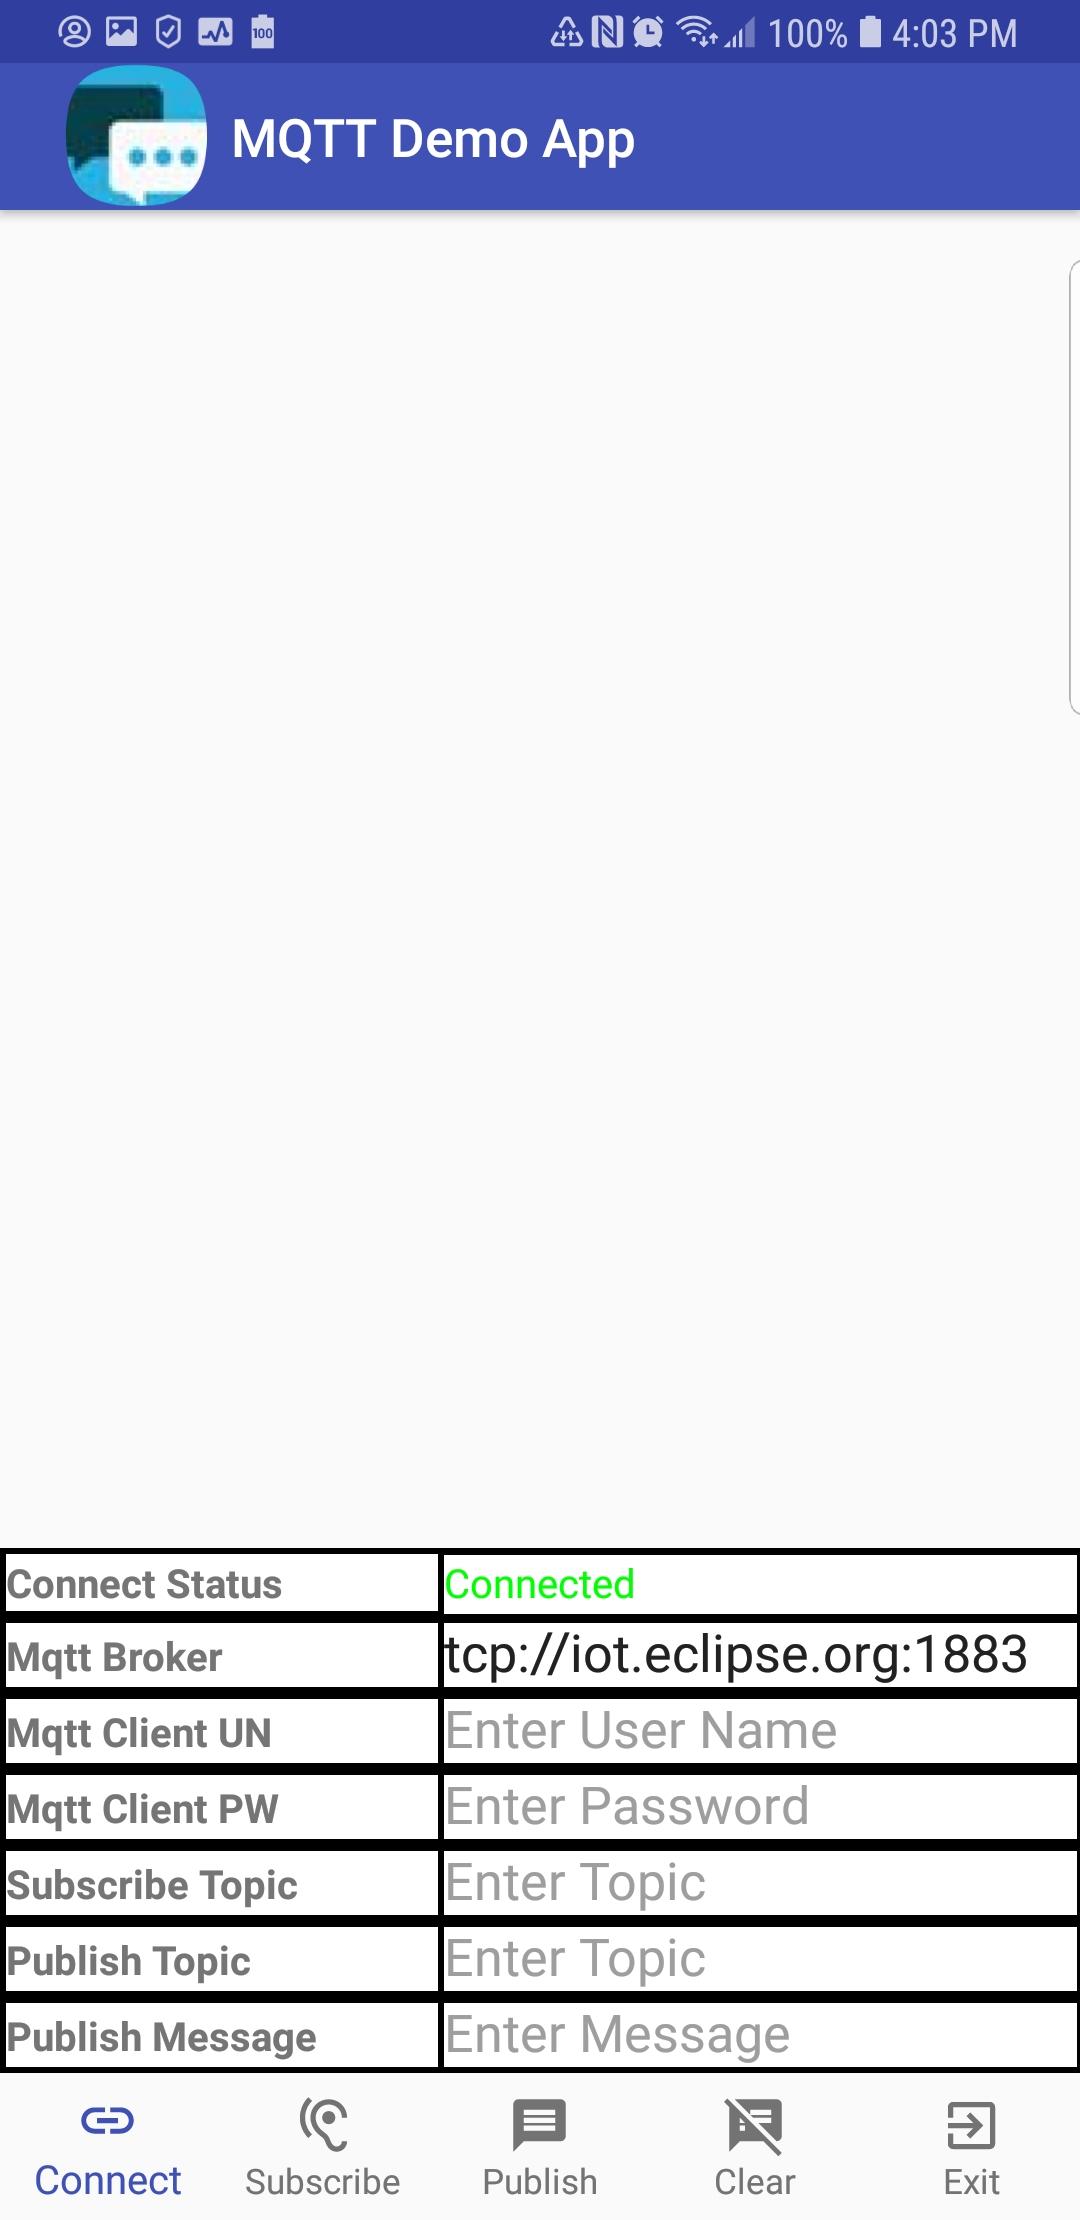
Click on “locate” to open the file manager with the location of the apk. You can transfer this file to your android device to test the app framework. The app should start to the following screen:

Now lets add the MQTT Demo code.
For this exercise, close Android Studio and simply replace the contents of the project folders with the files I have uploaded to Github here. Then we will walk through the code.
Copy <github/MQTTDemo> folder to <your project base directory>/MQTTDemo
The project files is partitioned into 3 main folders:
- <your project base directory>/MQTTDemo/app/build
- <your project base directory>/MQTTDemo/app/libs
- <your project base directory>/MQTTDemo/app/src
The build folder contains the output files from the build, libs contains the paho MQTT libraries, and src has the source code for the project. You can download the paho library files from here.
Now let’s open Android Studio to this project and review the source code:
The MQTT libraries as dependencies of your Android project
Permissions and Service additions to the AndroidManifest.xml file
<service android:name="org.eclipse.paho.android.service.MqttService" />
<service
    android:name=".MqttMessageService"
    android:enabled="true"
    android:exported="false">
</service>
Customizing the App GUI (activity_main.xml file):
From Android Studio, the app opening GUI is layout is defined in the file app/res/layout/activity_main.xml
A preview of the GUI can be seen by selecting the “Design” tab while the xml code needed to generate the GUI can be edited from the “Text” tab.
While not necessary, inn order to make it easy to follow, the GUI components are listed in the xml file in the top-to-bottom order that they appear on the screen.
- LinearLayout…requestFocus
Note that this object has a defined width and height of 0px, making it invisible. This object is used to set initial focus when the App is opened. Without this object, the app sets focus on the first editable field and the edit alphabet pop-up appears, somethings that is clearly undesirable on start-up.
- LinearLayout…ScrollView…TextView
This object is the large white space in the layout above. It displays MQTT messages as they are received.
- TableLayout
This object is the tabular information on the bottom half of the screen. This table is used to input MQTT connect parameters and to display the connect status.
- BottomNavigationView
This object is the icons and text along the bottom of the screen. Upon tapping, these items trigger action by the app.
Bottom Navigation Menu (app/res/menu/navigation.xml file)
This file defines the five navigation items displayed along the bottom row of the screen. Three fields are needed for each item.
- id – identifies the item for access in the java code
- drawable = defines the item icon
- title – defines the text to be displayed under the item icon
The icons can be selected from the Android Studio library or a custom icon can be used. To add an icon to the project, right click on the app->res->drawable folder selecting New->Drawable resource file:
![]()
The java code (app/java/<project package name>/MainActivity.java)
The startup and callback code is contained in the MainActivity.java file. A separate file is needed for each app scree. Since this demo app only uses 1 screen, only 1 file is needed.
The App code (class Methods) are contained within the MainActivity class.
This apps simple method simple structure:
- onCreate – Executed upon App start-up
-
RunScheduledTasks - Runs scheduled tasks once every second
-
OnNavigationItemSelectedListener - Callback executed when a bottom navigation item is tapped.
-
mqttCallback - Callback executed whenever a subscribed MQTT message is received
How it Works
When the app is started, GUI is rendered and onCreate is executed. Here is the sequence performed in onCreate:
- GUI layout is associated with the Apps opening activity
- A custom icon is added to the app’s title bar (you can change this, of course)
- A vertical scroller is added to the message window
- A client connection to the MQTT broker defined by the GUI table is made
- The bottom Navigation menu callback is registered.
- The text under each Navigation icon is made visible
- The callback for MQTT messages is registered
- The 1 second scheduled tasks callback is registered
After startup, the 3 app callback are active, waiting for a trigger to initiate execution
1. Scheduled tasks (runs once per second)
This App only requires one scheduled task. The app checks to see if the MQTT client is still connected to the broker. If connected, the display says “Connected” in green text. If the connection is lost, it displays “Disconnected” in red text.
2. Navigation Callback
The callback determines which item was tapped and then performs the applicable action:
Button 1: Connect – If connected to the broker, the connection is closed and then reconnected using the parameters currently displayed in the table. You can change the broker url prior to tapping this button to connect to a different broker, The table also has field for username/password if the broker supports and requires those fields. Using the paho library, two connection types are supported: tcp and ssl. An example of the broker url format for these connections:
tcp://<broker domain>:1883
ssl://<broker domain>:8883
Button 2: Subscribe – If connected to the broker, a subscription to the topic entered in the table is made. But if not connected, a message is displayed indicating a subscription cannot be added unless connected to the broker.
Button 3: Publish – If connected to the broker, the message entered is published to the topic entered in the table. But if not connected, a message is displayed indicating a message cannot be published unless connected to the broker.
Button 4: Clear – Erases the content of the message window.
Button 5: Exit – Exits the App.
3. Subscribed Topic Callback
The code executed when a subscribed message is receive is structured as if/then conditional statements. Once condition is executed for each unique topic executed. This provides a mechanism to execute topic specific code.
But in this demo App, the specified unique topics are not used. In that condition, the default “else” case is executed, which simply echos the published message in the message window.
In Closing
With the App framework presented, a full-featured app can be developed to interface with an MQTT broker to monitor and control your IoT devices. It can also be used as a client to test out MQTT clients connected to a common broker. Once again, the project can be downloaded from Github here.
Hope you find this project useful.