
PHP is an essential component of a majority of contemporary web servers. Initially, PHP was an acronym for “Personal Home Page”. But it is actually a widely used server-side scripting language. PHP is also the foundation for the popular WordPress content management system (CSM).
Now let’s add php to the USB LAMP web server installation from part 1 of this series.
Adding php to the Web Server
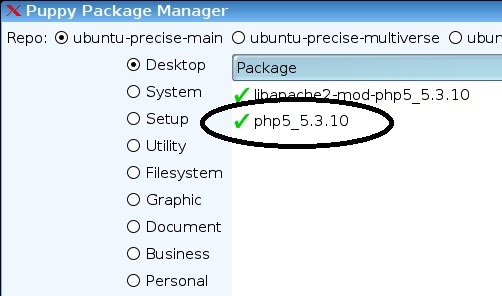
Launch the Puppy Package Manager again. In the search window (Find), enter “php”.
From the list of results, select php5_5.3.10.
A pop-up windows will appear as shown below:
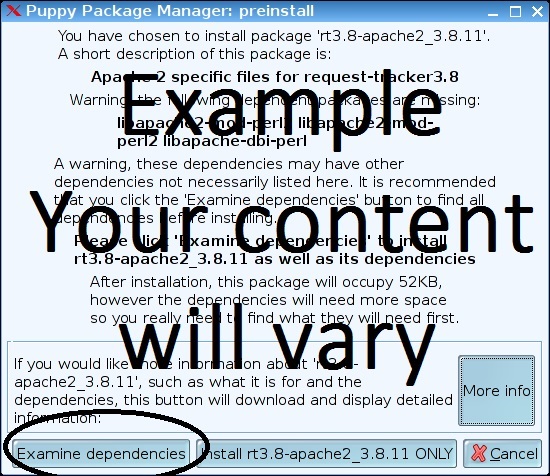
Click the “Examine dependencies” button. If this button is not present, just click on the Install button.
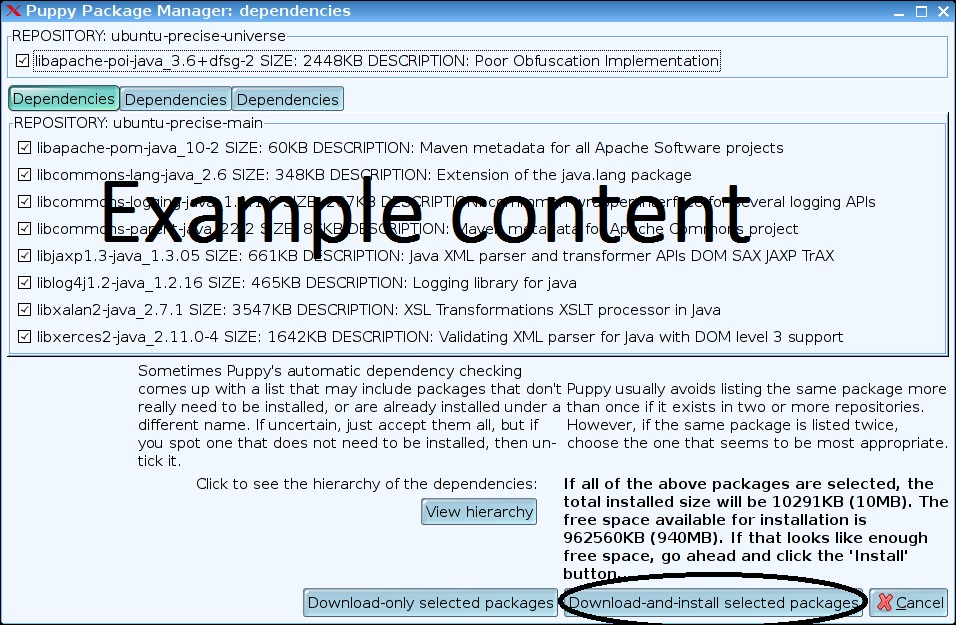
Next, click “Download-and-install selected packages” in the window below.
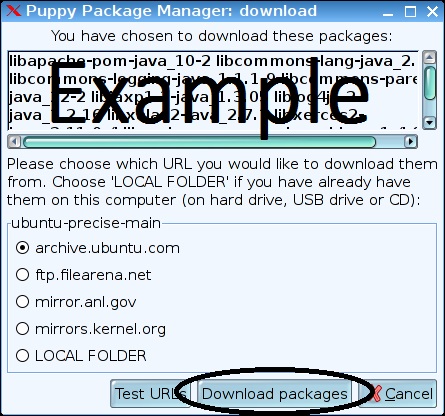
Another window will appear. Click “Download packages” in this window.
Once the installation completes, only one step remains to complete the basic php setup. You must file link php for it to become enabled and active. That is done by entering the following line from a console window:
# ln -s /etc/apache2/mods-available/php5* /etc/apache2/mods-enabled/
Testing the php Installation
Now lets run a simple script to verify php is working. Open a new file:
/var/www/helloworld.php
Enter the following and save the file:
<?php
echo “Hello World!”;
?>
Just like in Part 1, the web server is started by entering the following from the console window:
/etc/init.d/apache2 restart
Our test script can now be tested by entering the following into a web browser connected to the same local network as the server:
http://192.168.0.110:9777/test.php
Note: In Part 1, the ip of the server was set to 192.168.0.110 on port 9777. If your server is configured differently, change your test URL as appropriate.
You should see
Hello World!
displayed in the browser. This confirms php is working.
Additional php Packages
While your php installation is complete, you may wish to add additional packages to extend the php functionality. Two widely used packages are APIs for XSLT and mySQL.
XSLT is a language for transforming XML documents. For a web server, the result is an HTML web page. The transformation is done by matching templates in an XSLT style-sheet against an XML document.

mySQL is a widely used database management system (DMS). it is used on many websites to store and retrieve information. It is important to understand that the package we are about to install is an API to communicate with a mySQL database.
This package is not the mySQL DMS. That will come in part 3 of this series.
Here are the specific packages known to support these APIs with the Precision Puppy distribution we are working with:
php5-xsl_5.3.10
libxslt1.1_1.1.26
xsltproc_1.1.26
php5-mysql_5.3.10
mysql-common_5.5.47
libmysqlclient18_5.5.47
These are installed in the same manner as php was installed.
For the XSLT packages, open the puppy package manager, search for XSLT, and select the bold package “php5-xsl_5.3.10″. The other two packages should get installed as “dependent” packages.
Likewise, for the mysql packages, open the puppy package manager, search for mysql, and select the bold package “php5-mysql_5.3.10″. The other two packages should get installed as “dependent” packages.
Coming Attractions
That’s it for php. But there are additional php packages available to support unique website requirements. You can add any additional packages needed following the same process described in this post.

In part 3, we will be adding the mySQL database management system to our Apache server.
Social tagging: PHP on apache server > php on usb server