So now you’ve gotten your hands on an ultra low-cost ESP8266 module.
Your ready to get started…
But what else do you need?
The only other hardware you need now to make this thing functional is an interface for development. This interface must support firmware flashing and testing. It must also provide a power source. Fortunately, there are several low-cost options available to satisfy these basic needs.
What you need is a USB to serial converter. Of the models available…and there are several unique ones available, it is essential that you choose one that provides a 3.3V output required by the ESP8266. This output is not present on all converters so you must make sure you select one that does. The standard 5Vdc USB output is too high for the chip, and will most likely destroy it. And nobody wants another brick in the stash of gadgets!
From a brief search on Amazon, I found a device that met the requirements. My device uses a CP210x chip-set. While I could have purchased a cheaper unit from an Asian supplier, this was still a decent value at less than 4 USD and with fast-free shipping, I got the device in days instead of months.
Making prototyping a snap, a 5 pin ribbon cable is included with female contacts that can be attached directly to male breadboard jumpers.

From this USB plug-in module, 5 signals are provided:
- 5 Vdc
- 3.3 Vdc
- Ground
- Serial Tx
- Serial Rx
But remember, the 5Vdc output must not be used when interfacing with the ESP8266.
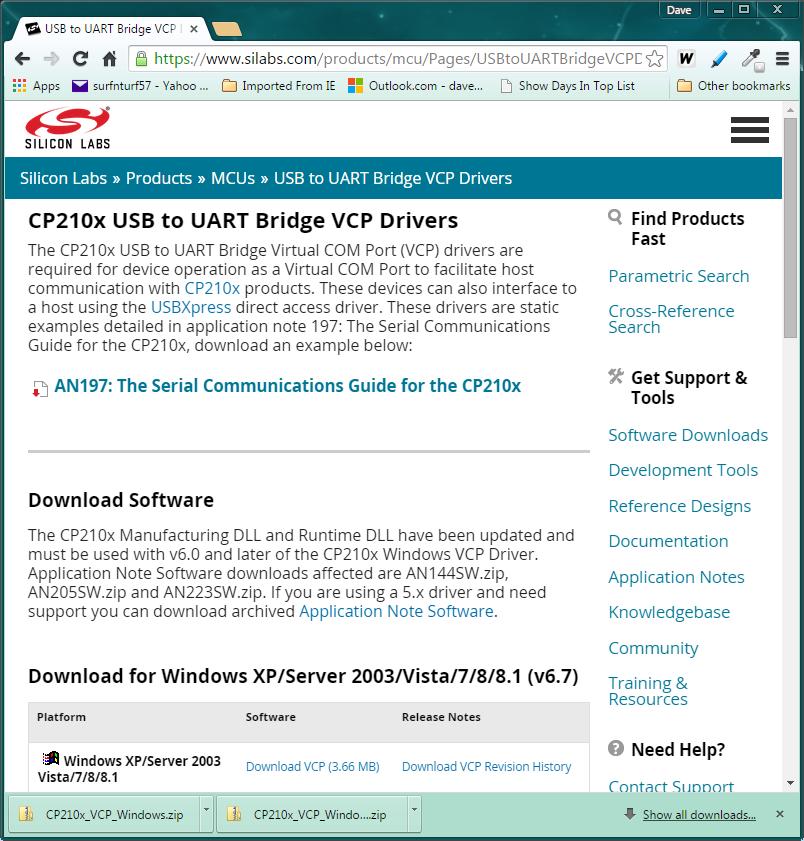
Since I am using a Windows 7 OS PC for development, a compatible driver was needed to make this device functional. For this device, the driver can be found at:
https://www.silabs.com/products/mcu/Pages/USBtoUARTBridgeVCPDrivers.aspx
There are drivers available there for Windows, Windows CE, Linux, and Macintosh.
Driver installation is straightforward. Simply download the files and follow the instructions from this website.
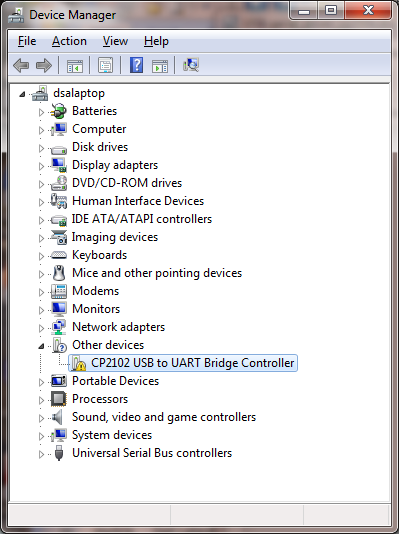
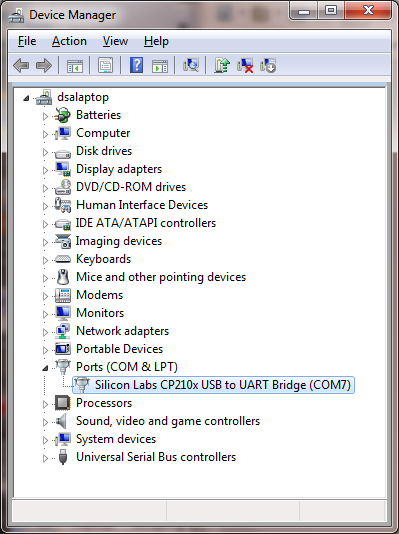
I used the Windows Device Manager to install the driver. There are several ways to pull up the Device Manager on a Windows PC. One simple method is to type “Device Manager” in the Start pop-up in the box with the placeholder “Search programs and file”:

With the USB device attached to the PC (with no driver installed), right-click on the device and select “Update Driver Software…”
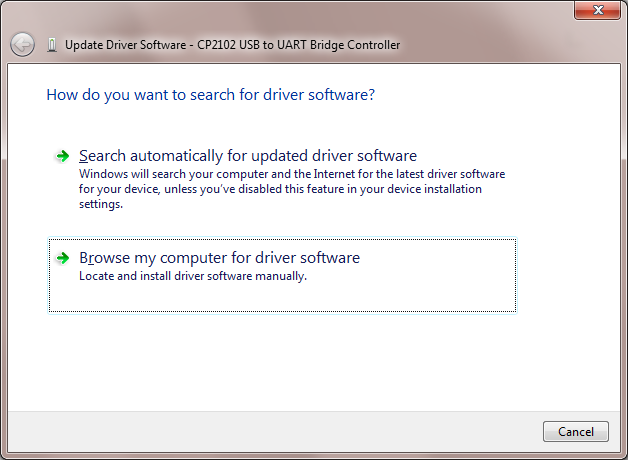
Then, select “Browse my computer for driver Locate and install driver software manually.”
Select the folder that the driver downloaded to on your computer:
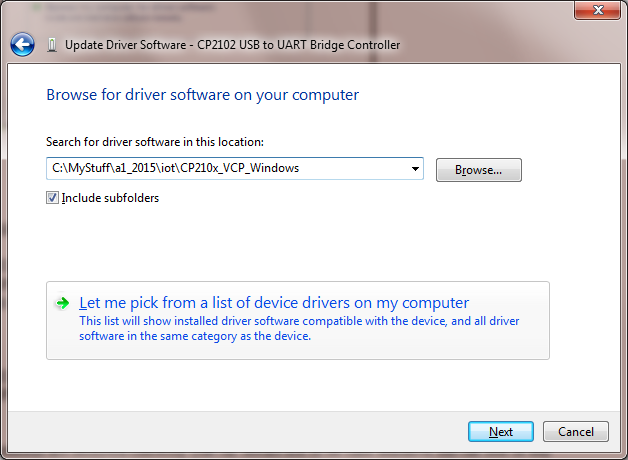
Clicking “next” installs the driver…and that should do it:
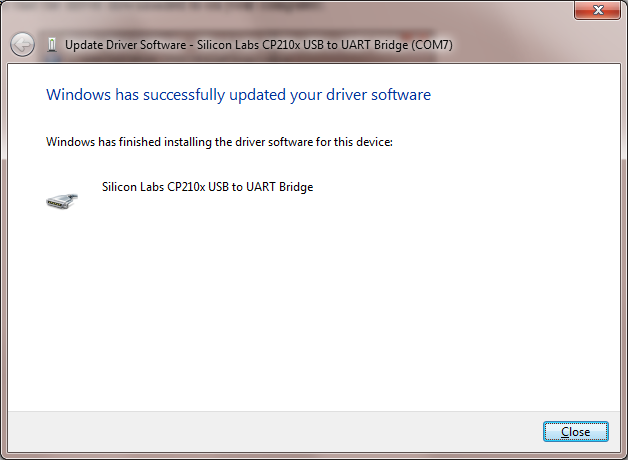
When you click “close”, the driver should be installed and the device manager updated with the correct driver information, including the COMx assignment.
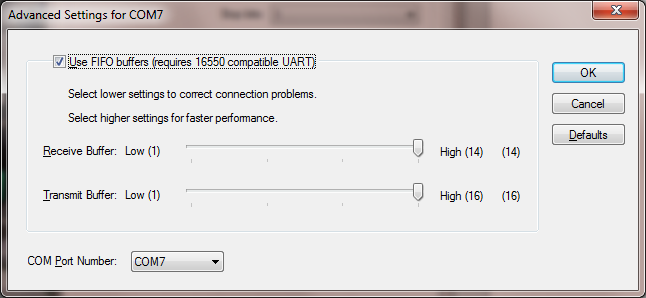
If you want to customize the COMx port number assignment, right-click on the newly installed USB to UART bridge driver, select “Properties, the “Port Settings” tab and “Advanced…”
Note that while the USB to serial device’s 3.3V output can be used to power the ESP8266 when programming the device, it is inadequate as a stand-alone power source. The maximum output is specified to be 100ma while the ESP8266, when transmitting, could require up to 215 ma. Even though the ESP8266 can be programmed for several lower power transmit modes, none falls below the 100ma maximum that the USB to serial device can deliver.
- Transmit 802.11b, POUT=+19.5dBm 215 mA
- Transmit 802.11b, POUT=+18.5dBm 197 mA
- Transmit 802.11g, POUT=+16.0dBm 145 mA
- Transmit 802.11n, POUT=+14.0dBm 135 mA
Thus, a separate 3.3V source is needed to power the ESP8266 for a fielded application What is important to keep in mind is that the ESP8266 needs a regulated 3.3V power source. I recommend using a single-chip regulator for this purpose.
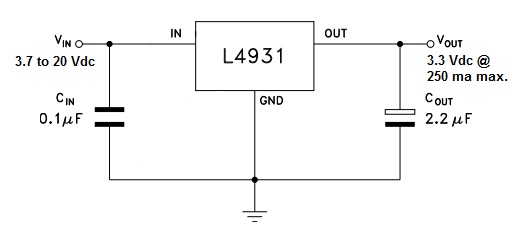
One such device, which can be purchased fro about 1 USD on-line from Amazon or Adafruit, is the 3.3V 250MA LINEAR VOLTAGE REGULATOR (Part number L4931).
This unit will regulate any source (3.7 – 20 Vdc) down to a clean 3.3V, and providing up to 250 ma.
With this simple circuit, you can use any commonly available USB source to power your ESP8266 based project. Just make sure the source is rated to supply the needed current. Power sources like a USB battery, car or wall adapter.
Until next time…