Archives for April 2015

A Tiny Footprint ESP8266 Arduino IDE JSON Encoder

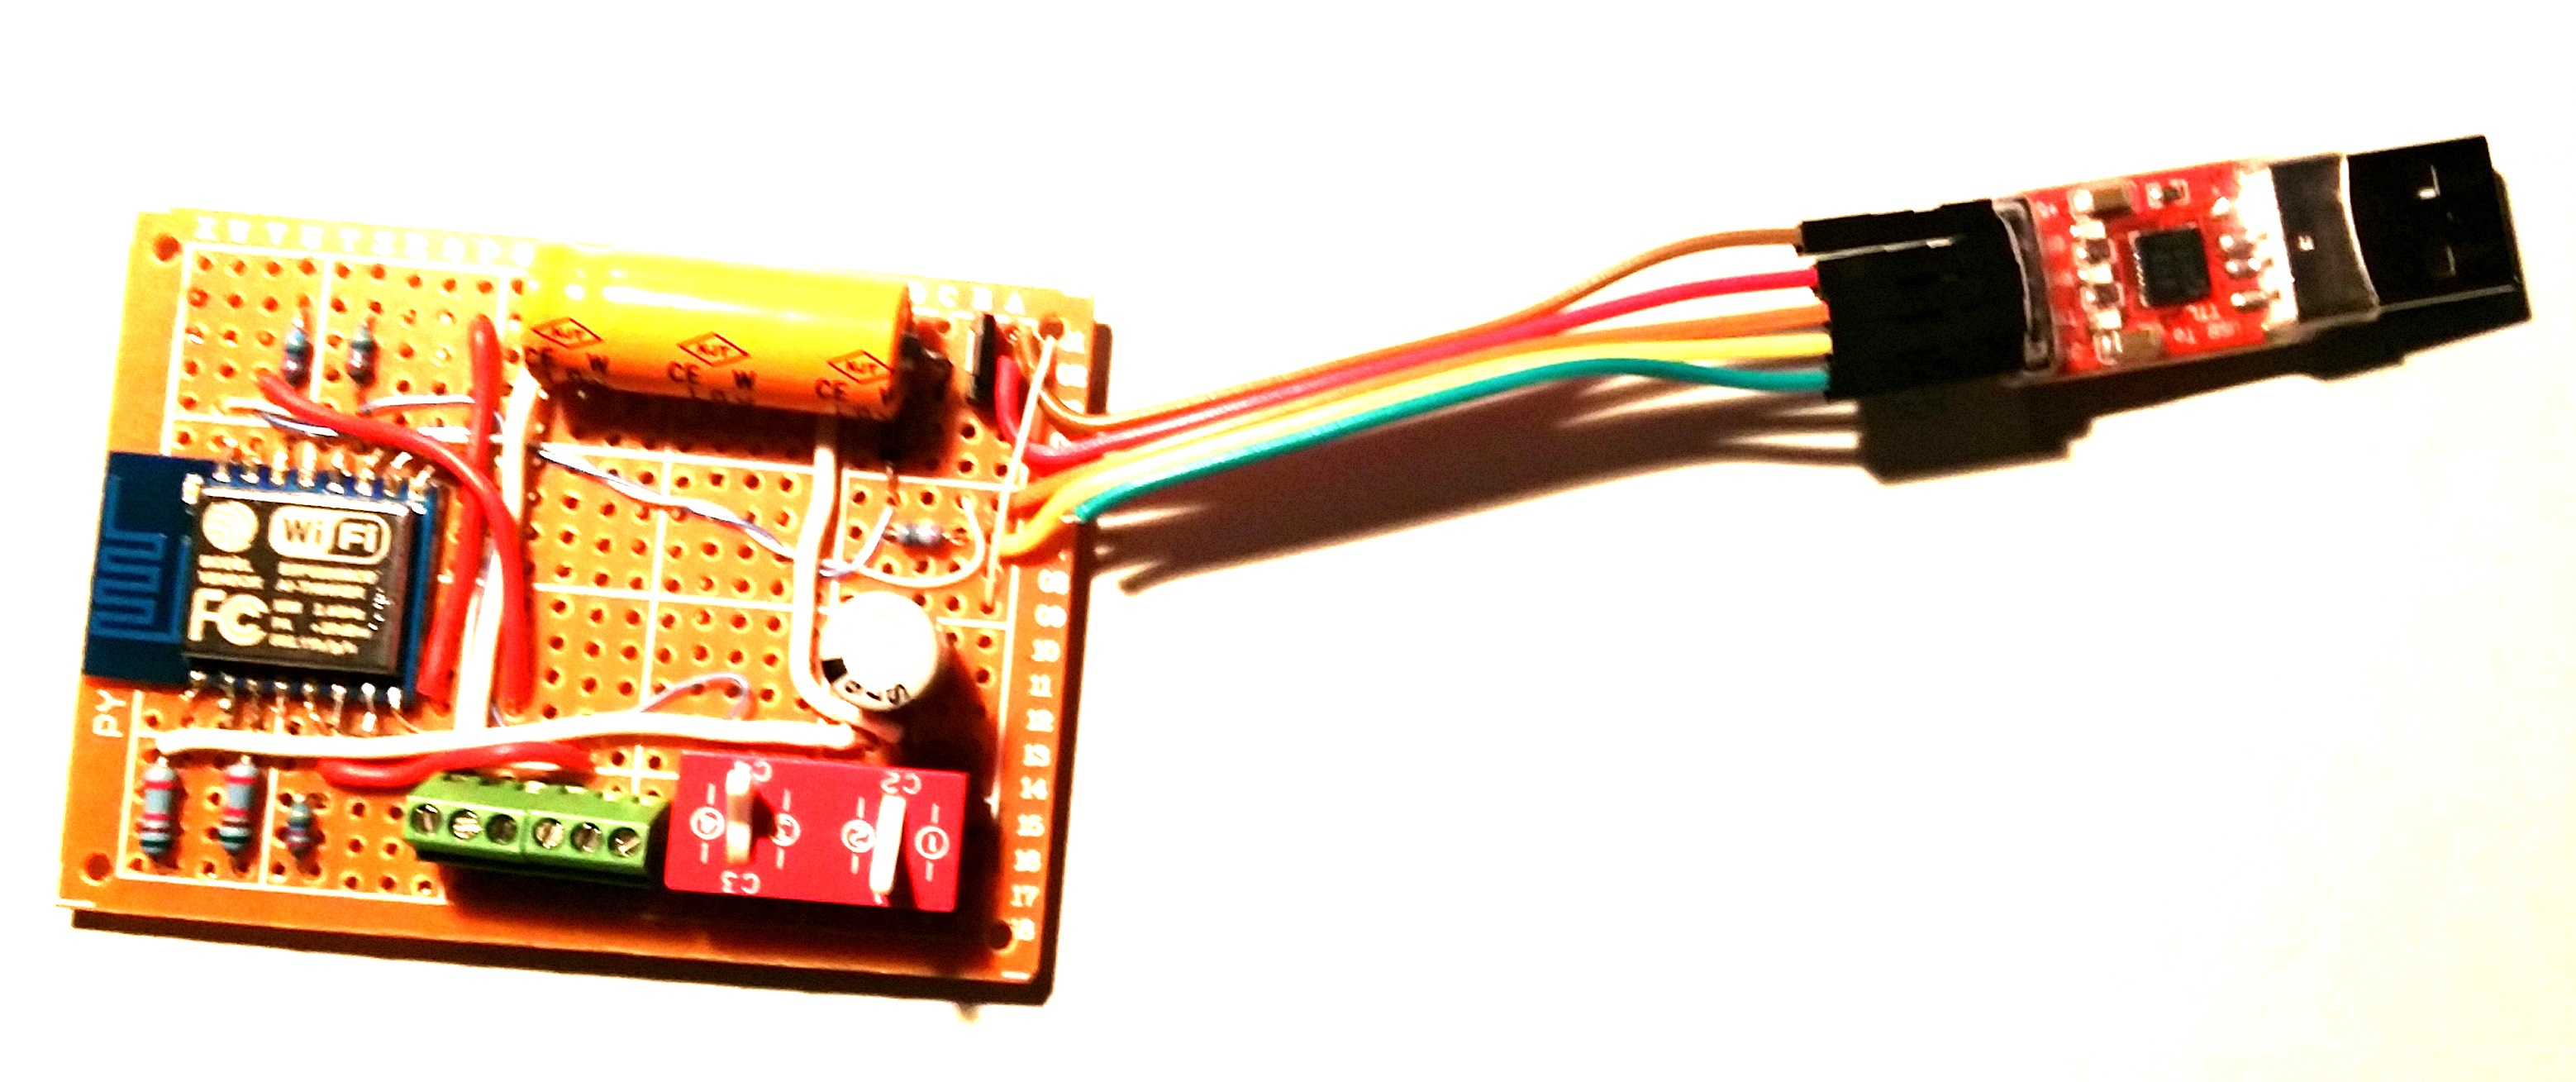
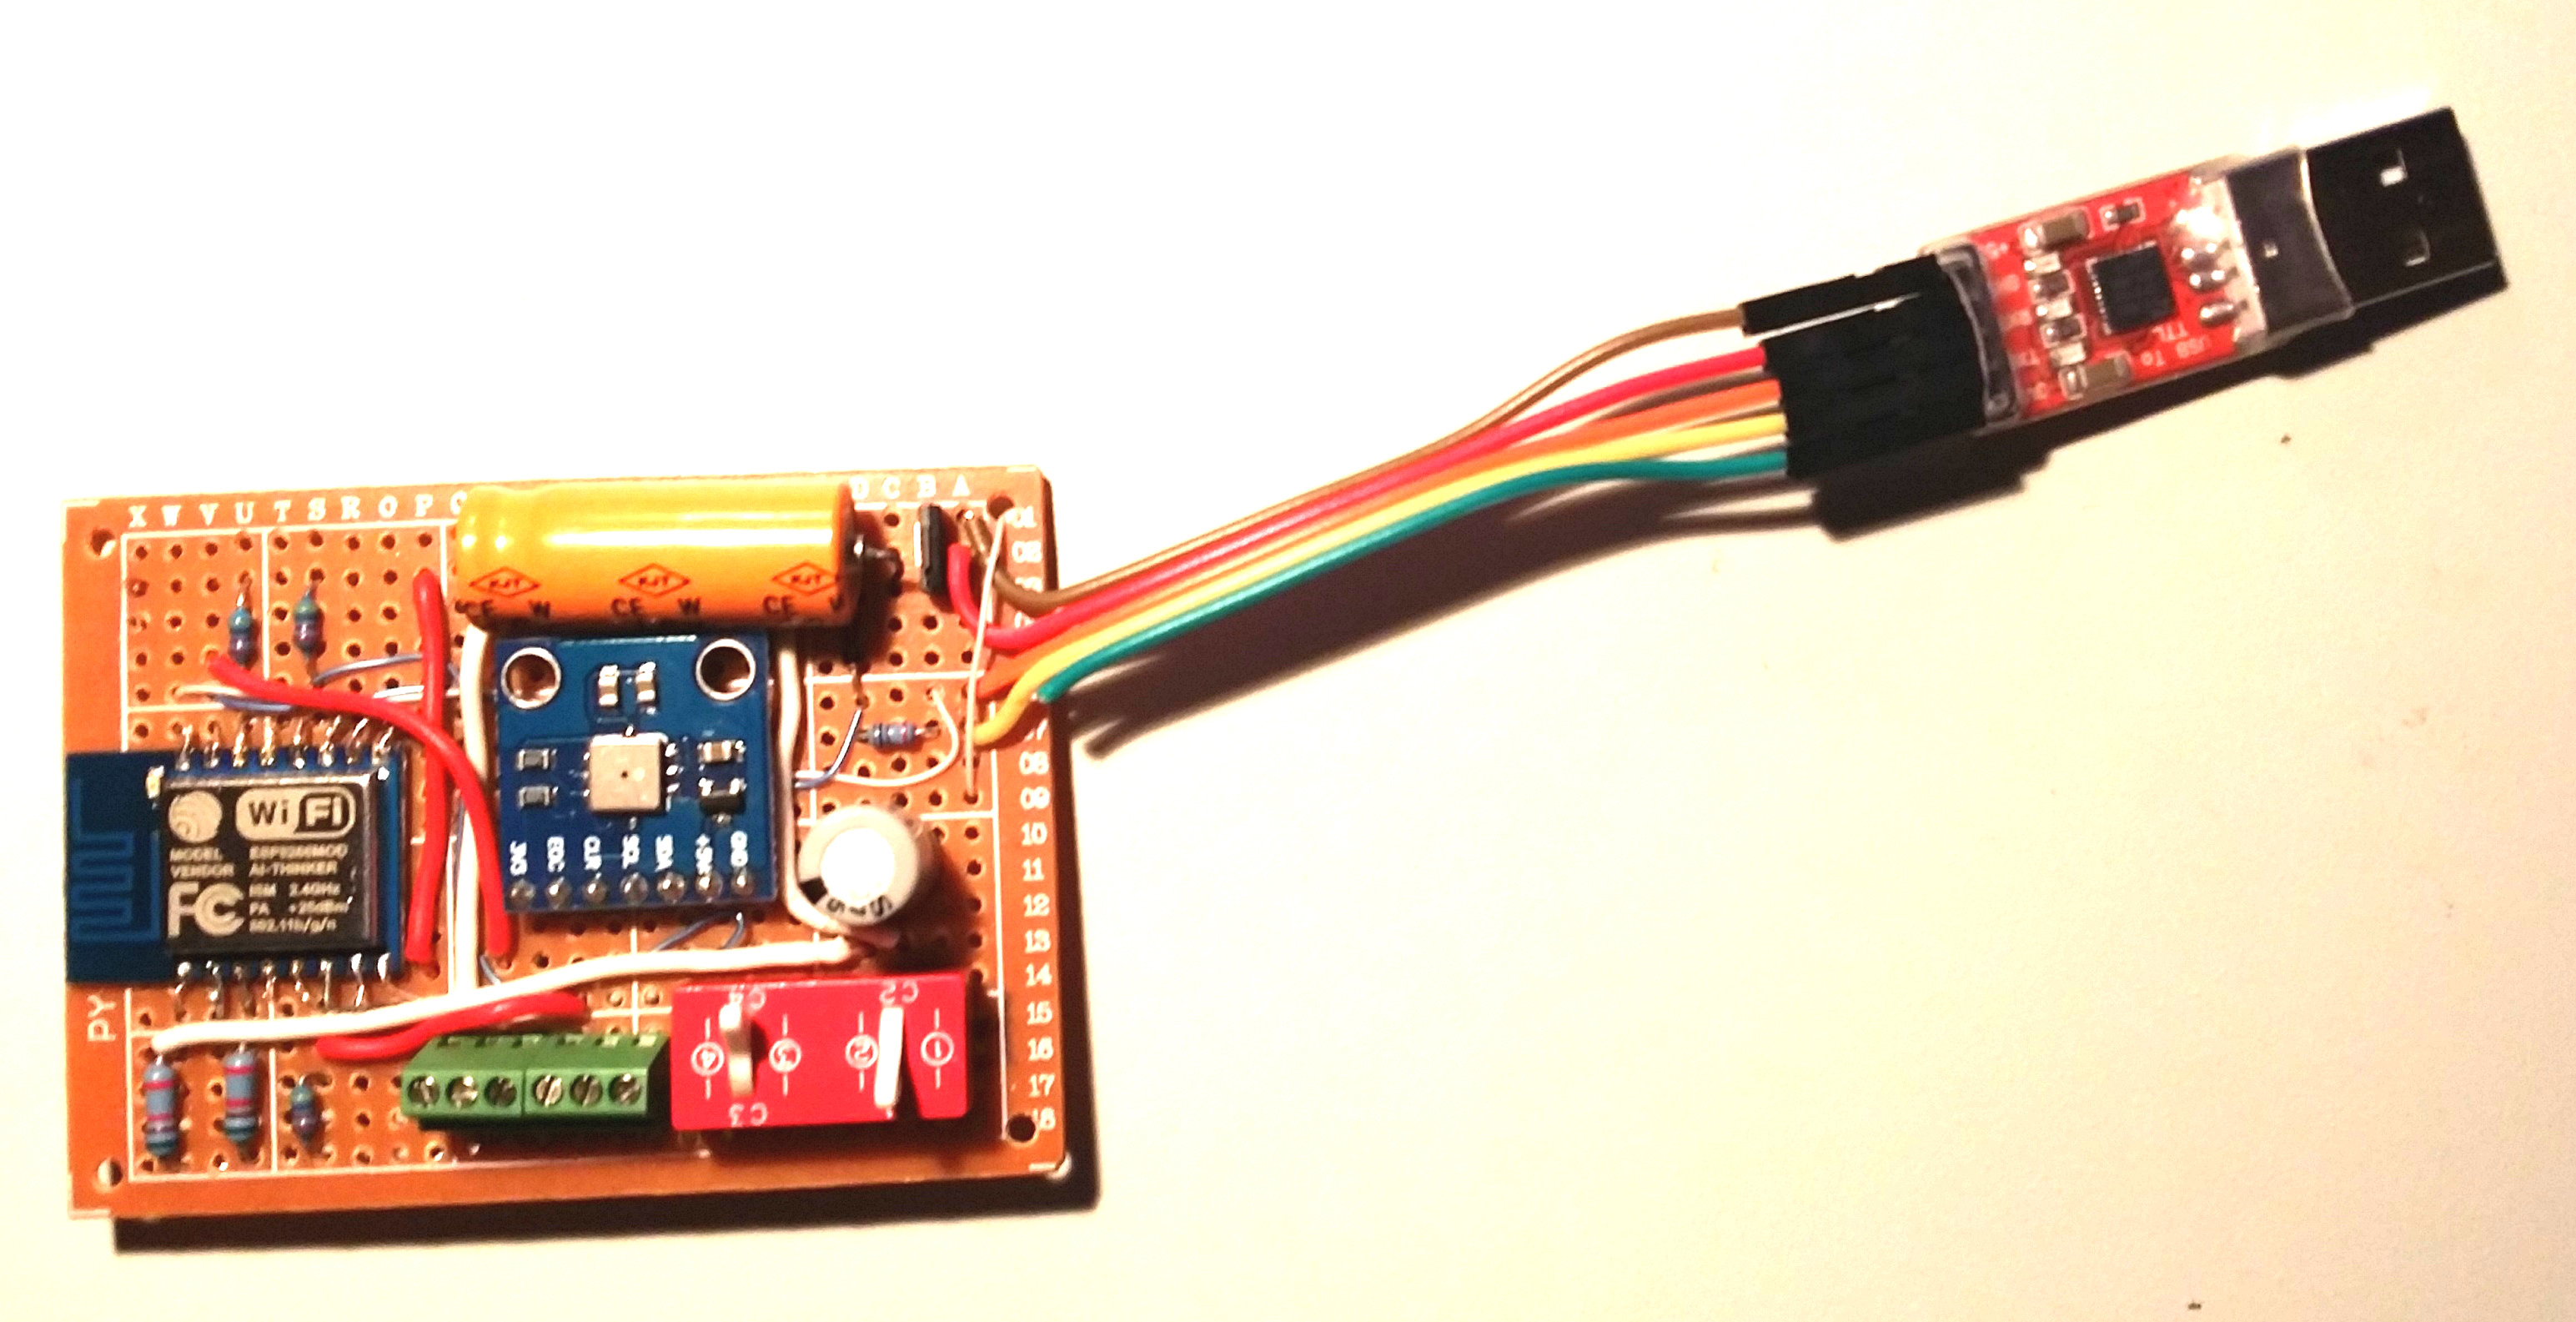
As I recently migrated from the ESP8266 SDK to the Arduino IDE, I was disappointed to discover that many of the SDK features were not supported with the simplified Arduino IDE. Notably, the JSON encoding/decoding library.

wordle

I tried to add pre-built libraries from several internet repositories. But none of them would work in the Arduino environment. And all I needed was a simple encoder, built from the values captured from my sensors. So I ended up creating a simple, flat encoder myself. One with minimal sketch code. I hope this may also suite someone else’s needs as well.

Here it is. Two short sketch functions, that’s it:

#define ONEJSON   1
#define FIRSTJSON 2
#define NEXTJSON  3
#define LASTJSON  4

<span style="line-height: 1.5;">void jsonAdd(String *s, String key,String val) {</span>
    *s += '"' + key + '"' + ":" + '"' + val + '"'; 
} 
void jsonEncode(int pos, String * s, String key, String val) { 
    switch (pos) { 
        case ONEJSON: 
        case FIRSTJSON: 
            *s += "{\r\n"; 
            jsonAdd(s,key,val); 
            *s+= (pos==ONEJSON) ? "\r\n}" : ",\r\n"; 
            break; 
        case NEXTJSON: 
            jsonAdd(s,key,val); 
            *s+= ",\r\n"; 
            break; 
        case LASTJSON: 
            jsonAdd(s,key,val); 
            *s+= "\r\n}"; 
            break; 
     } 
}

And now for some example calls to these functions:

//First build the  response header
String s = "HTTP/1.1 200 OK\r\n";
s += "Access-Control-Allow-Origin: *\r\n";
s += "Content-Type: application/json\r\n\r\n";

//Then add the JSON string to the response
//Last parameter read from sensor
jsonEncode(FIRSTJSON,&amp;s,"B_Pressure", bprs);
jsonEncode(NEXTJSON,&amp;s,"DS_TempInside", tin);
jsonEncode(NEXTJSON,&amp;s,"DS_TempOutside", tout);
jsonEncode(NEXTJSON,&amp;s,"DS_TempAttic", tatt);
jsonEncode(NEXTJSON,&amp;s,"DH_Humidity", dhhumi);
v = system_get_free_heap_size();
jsonEncode(NEXTJSON,&amp;s,"SYS_Heap", v);
v = millis()/1000;
jsonEncode(LASTJSON,&amp;s,"SYS_Time", v);

The resulting response message header and JSON string:

HTTP/1.1 200 OK
Access-Control-Allow-Origin: *
Content-Type: application/json

{
"B_Pressure":"29.0",
"DS_TempInside":"86.4",
"DS_TempOutside":"90.1",
"DS_TempAttic":"111.6",
"DH_Humidity":"30.0",
"DH_Temperature":"91.4",
"SYS_Heap":"32568",
"SYS_Time":"1610"
}

Notice that I added

Access-Control-Allow-Origin: *
to the response header. This is needed if you use Javascript AJAX to read the ESP8266 JSON string. Javascript will not allow cross-domain access without this in the response header. This example opens access to all domains. You can replace the * with the domain you wish to limit access to your ESP8266 from.

Hope you find this information useful.

Loading

Share This:
FacebooktwitterredditpinterestlinkedintumblrFacebooktwitterredditpinterestlinkedintumblr

Porting Spark Core Weather Sensor IoT to ESP8266-12

 The Project

After my initial tinkering with the ESP8266, I could visualize of lots of practical applications. Suddenly, the price barrier was shattered. Every little thing can be connected. First up was the task of freeing up my relatively expensive Spark Core application, replacing it with a dirt cheap ESP8266.

It seemed like an incredible wasted resource to use my $39 Spark Core to perform the duties that a $2.86 ESP8266-12 could just as easily perform.

Or could it?

You never know how a prototype will ultimately wind up looking like at the end of the day. My plan was to transfer the Weather Sensor functions that the Spark Core was performing to an ESP8266. While not overly complicated, 8 measurements using 3 sensor types were needed. This included:

  • Three Temperature Sensors on a one-wire bus (Using DS18B20)
  • A Humidity/Temperature Sensor on a separate one-wire bus (Using DHT11)
  • Barometric Pressure, Altitude, Temperature Sensor via I2C (Using BMP085)

 Hardware Interface

Here is my current interface using a Spark Core. It is mounted on a standard solder-less breadboard with a micro-USB connector for programming and power. Only two pull-up resistors were needed to provide a ‘strong’ one-wire interface. This set-up has been working 24-7 non-stop for the past 9 months.


Spark Core Weather Sensors

Current set-up using a Spark Core MPU

This interface only required 4 digital signals, those two pull-up resistors and a 3.3V power source. So you see that this is well within the capabilities of the ESP8266-12, which has 9 total (6 usable) general purpose digital IO pins exposed at the module interface.

My current configuration pulls data from the Spark Core. This is accomplished by sending http GET commands to retrieve the sensor values and storing them into a mySQL database once every hour by a scheduled CRON task on my web hosting platform. With the correct application loaded to the new module, a tweak to that script should be all that is necessary for the conversion to the ESP8266 data acquisition change.

ESP8266 Weather Sensor Schematic

New set-up using an ESP8266 MPU

Just like the old set-up, four digital pins are used to interface with the 3 sensors.

Function Spark Core ESP8266-12
1 Temperature (DS18B20) D4 GPIO4
2 Humidity (DH11) D3 GPIO14
3 Barometric (BMP085) - SCL D0 GPIO12
4 Barometric (BMP085) - SDA D1 GPIO13

Spark Core DIO vs ESP8266 GPIO usage

Initially, I had planned to use GPIO16 for the DS18B20 one-wire interface. That would have physically routed all the pins used for the sensors on one side of the ESP8266. This would not work, however, since GPIO16 can be used as an input or an output, but does not have the INPUT PULLUP, and  OUTPUT_OPEN_DRAIN capability of the other GPIO pins. That feature is needed for the one-wire interface. But since the ESP8266-12 has additional digital pins, I simply changed the connection to use GPIO4 instead.

Note that the circuit has a 100 ohm series resistor with a 3.3V zener diode connected to the ESP8266 serial receive pin. This protects the module from potential damage from a 5V serial transmit source.

A LM1117 3.3V regulator is used to provide Vcc voltage. This device can provide up to 800ma of current, well above the ESP8266 needs. Using a USB to serial converter, the USB is connected to a 5V external supply (wall, battery, car adapter…) for the fielded ESP8266-12 circuit.

A large (470 uF) capacitor was placed across the 3.3V to stabilize the supply and minimize unwanted ESP8266 resets. An additional capacitor was connected to the reset signal, also to eliminate resets from spikes on the pin. Finally, for device decoupling, 0.1uF capacitors were placed across the ESP8266 and BMP085 Vcc to ground pins. These must be placed as close to the device pins as possible for maximum effectiveness.

Switches were added to support flashing and warm resets.

The circuit was assembled on a printed circuit board (PCB). I used 30 AWG wire to attach the 16 ESP8266-12 interface contacts to the PCB. ESP8266-12 Weather SensorsThe Barometric Pressure/Temperature sensor (BMP085) was positioned in the center of the PCB. Interface to the external DS18B20 and DHT11 sensors are made at the green terminal block. 
Note that the 3.3v signal (green wire) from the USB to serial adapter was clipped and not used. That source lacks the current capability needed for proper operation of the ESP8266.


 Software Implementation

This was my first serious project using the ESP8266 after doing the basic “getting started” exercises. I started with nodeMCU and lua, then migrated to the SDK, and finalized the code using the Arduino IDE. This was not by choice but by necessity as there were insurmountable problems with lua and the SDK. And as of this post, there remains issues even with the Arduino IDE. But this article will remain focused on the porting solution. See the following posts related to issues I encountered during the development of the weather sensor porting firmware.


Arduino IDE Web server

My code is based on the Arduino IDE example “WiFiWebServer”. After confirming the example code worked to turn an LED on & off  from an external Internet connection, modifications were made to support the ported sensor requirements. The sketch and forked library files are accessible in GitHub here.

After many iterations, discovering what worked and what wouldn’t function, I came up with the following structure.

Included libraries:

#include <OneWire.h>
#include <ESP8266WiFi.h>
#include <Wire.h>
#include <DHT.h>
#include <Adafruit_BMP085.h>
#include <UtilityFunctions.h>

Everything worked “off-the-shelf” except for the BMP085 driver. The problem was that the “pow” function, used to calculate altitude, was not linked properly from the built-in IDE libraries. And if I tried to include “math.h”,  which includes the “pow” function, the compiler failed with an out of memory error. I also attempted to implement a recursively called substitute function for the missing “pow”…unsuccessfully. I ended up removing the calls to the altitude function, and the need for the pow function. Not a big loss considering the fact that my sensors are positioned in a fixed location, the altitude will never change. My implementation of the pow function remains in the GitHub repository in the UtilityFunctions.c file in case someone may wish to explore this further.


Structure of the Arduino IDE loop()

Here are the key attributes of my code required for the most reliable operation:

1. WiFi connected check

First thing I added to the top of the sketches loop was a check to determine if the WiFi was still connected. This became necessary when I noticed that sometimes the connection was dropped, resulting in a non-responsive ESP8266 to”http GET” requests.

2. Busy flag

As you may well know, sending an “http GET” request by entering an URL into a web browser also creates several request for “favicon”. This sometimes created a problem when the ESP8266 sent it’s reply back to the browser and returned to the top of the loop. It appears that the reply, sent using “client.print(msg);” is a non-blocking call. That means the ESP8266 continues execution while the reply message send is in progress, This results in cases where the “favicon” request is received before the reply is sent. I figured this may be the cause for some of the ESP8266 lock-ups and resets I was experiencing. So I added a busy flag to block the processing of any new “http GET” requests until the current one is complete.

3. Sensor Reads

When all the sensor reads were attempted each iteration of the loop(), the ESP8266 kept resetting. I believe this was because the watchdog timer, set to about 5 seconds by default and does not appear to be controllable at this time, would timeout before the sensor reads were complete. Upon a timeout, the ESP8266 resets.

The solution was to limit the sensor reads to one read every 2.5 seconds. or a total of about 20 seconds to refresh all 8 sensors. This worked, and the resets no longer occurred endlessly.

4. Returns

The watchdog timeouts and subsequent resets  occured frequently when all the steps in the sketch loop were executed every iteration. This was significantly reduced by returning from the loop after each significant event was processed.

Loop sequence returns:

  • After Wifi connected, if needed
  • If busy
  • After a sensor is read
  • If no client detected
  • After client is killed
  • If “favicon” request detected

5. Watchdog Timer Resets

The wdt_feed() should reset the watchdog timer. I have sprinkled some calls to wdt_feed() in my loop() after tasks that take some time to complete to avoid timeout resets.

6. Reply – json string encoding

The sensor data is returned as a json string for easy processing with a php or jquery script. I have attempted to add a few different json libraries to my Arduino IDE sketch, without success. They either would not compile or blew the memory space. So I ended up adding a simple json encoder to my sketch. It only supports key:value entries at the top level, but works flawlessly and uses an absolute minimum amount of memory. Check it out in my sketch.

7. Heartbeat Data logging

With all the problems I had with memory management and leaks using the nodeMCU/lua environment, for potential troubleshooting, I added a serial print to log 3 parameters:

  1. free heap
  2. processor time since last reset
  3. last sensor read

This was output every time a sensor was read (2.5 second intervals) and logged to a file using my terminal program. It has been very helpful in debugging problems. just like with lua and the SDK, I noticed the free heap drops for each consecutive “http GET”, lingering for a minute or so. This means in the current state of the ESP8266 hardware/software combination, you cannot continuously bang the unit with “http GET” requests. For applications that need to periodically extract information from the module over the network, a minimum of 1.5 minutes between requests is needed for a reliable, stable operation.


 Conclusion

I can claim a success in the porting of the Spark Core Weather sensor code to the ESP8266 platform.  All the same functionality worked within the ESP8266 constraints, with plenty of code space to spare.

And while I am still in the process of performing some “stress tests” to determine whether it is sufficiently  robust to be relied upon for around the clock operation, it is looking good so far! After implementing both hardware and code measures to eliminate resets, I have not seen one yet. But this has only been about two non-stop days so far…

With the current level of interest, I expect the dependability of this device to improve with time. Higher quality flash chips, that reliably support more flash cycles than the current 25Q32 or 25Q40 chips shipped with new ESP8266 modules will be an essential component of the solution. And a more robust API to control the watchdog timer is also needed. Application control of the timeout period as well as a user defined timeout callback will go a long way in resolving the issue of unwanted resets.

Hope you find this information useful.

Loading

Share This:
FacebooktwitterredditpinterestlinkedintumblrFacebooktwitterredditpinterestlinkedintumblr

Issues with the ESP8266 Arduino IDE

Arduino IDE for ESP8266


The Arduino IDE version 1.6.1 with ESP8266 support worked well as a webserver using the WiFiWebServer example sketch as a starting point. This basic example supports on/off control of an LED from a web browser. The example demonstrates how to interpret and respond to requests. It can easily be expanded to support responses any request strings added to the domain:port URL used to access the device. The example, which simply controls an LED, uses domain:port/gpio/0 to turn the LED off and domain:port/gpio/1 to turn it on.

Building my sketch on the back of this example, I soon uncovered issues which had to be addressed in order for my IoT sensor reads to function as required. This included:

1. WiFi Connection

The connection can and sometimes does get dropped. It is important to have a check in the sketch loop() function to reconnect if it is disconnected.

if (WiFi.status() != WL_CONNECTED) {
delay(1);
WiFi.config(ipadd, ipgat, ipsub);
WiFi.begin(ssid, password);
//Wait here until connected, up to a timeout period
while (WiFi.status() != WL_CONNECTED) {
Serial.print(“.”);
delay(500);
}
return;
}

2. Ticker

Ticker is supposed to provide the capability to perform periodic tasks. This must be using the SDK timer/callback API. While it worked flawlessly for me with the SDK, it did not work well with the Arduino loop(). I was trying to separate the sensor reads from the server handler, using the timer for sensor reads. Erratic resets occurred. From my experience, Ticker is not usable at this time. With the current Arduino IDE, it is necessary to handle all code single threaded within the sequence of the loop() function.

3. Watchdog Timer Resets

Disable the watchdog timer and the MPU will halt on the first timeout. It must remain enabled during normal code execution. But I have observed many resets when trying to read attached sensors while also supporting the web server. These resets can be reduced or eliminated by structuring the loop() function with returns after every time consuming task, like reading a sensor. The resets are also reduced by using yield(), delay() and ESP.wdtFeed() statements after time consuming tasks.

4. Math Functions

Using the BMP085 to read Barometric Pressure require use of the pow function. This math function is not supported with the core library and attempts to link the math.h library blows the memory, resulting in a build error. Since the pow function is only used for the calculation of altitude values, the BMP085 will work with the Arduino IDE if you comment out the pow functions in the library and only read the pressure and temperature values from the device driver.

5. JSON Encoding

The JSON library included  with the SDK is not available with the Arduino IDE. And linking a JSON library will blow the memory. Since it is advantageous to return a JSON string with sensor values in response to “http GET” requests, this becomes a significant shortcoming. But a simple JSON encoding function used to build the return string is all that is needed to overcome this. This works with minimal code:

void jsonAdd(String *s, String key,String val) {
*s += ‘”‘ + key + ‘”‘ + “:” + ‘”‘ + val + ‘”‘;
}
void jsonEncode(int pos, String * s, String key, String val) {
switch (pos) {
case ONEJSON:
case FIRSTJSON:
*s += “{\r\n”;
jsonAdd(s,key,val);
*s+= (pos==ONEJSON) ? “\r\n}” : “,\r\n”;
break;
case NEXTJSON:
jsonAdd(s,key,val);
*s+= “,\r\n”;
break;
case LASTJSON:
jsonAdd(s,key,val);
*s+= “\r\n}”;
break;
}
}

6. Watchdog Timer Functionality

A richer API to the watchdog timer is needed. This may just be a wish list, but it would be very helpful if the timeout period could be set and a user defined callback function could be registered for timeouts. This would go a long way in resolving the device resets experienced by many ESP8266 users.

In summary 


The Arduino IDE is a very well-known and supported platform. These shortcomings will probably be overcome with updates in the future. Despite the limited flexibility and functionality of the Arduino IDE, it will likely be the platform of choice for many ESP8266 application developers.

Loading

Share This:
FacebooktwitterredditpinterestlinkedintumblrFacebooktwitterredditpinterestlinkedintumblr

4 reasons I abandoned NodeMCU/Lua for ESP8266

Like many, I became very excited when first introduced to the ESP8266. Imagine, a complete IoT system on a chip for a couple of USDs! It was very easy to bring a factory-new ESP8266 module up and running from the wealth of information available on-line. The “OK” response to the “AT” command was the “Hello World” for this device, and on you go from there.

With more education, it became obvious that a lot of folks were using NodeMCU to develop Lua scripts for the device. It looked simple enough. And the demo applications to control an LED from a web browser were easy to duplicate. Wow, this really works!

But then I started to develop a larger server, which responded to multiple requests.

And that’s when the problems started…

Initially, I blamed the problems I encountered on my coding. And a lack of experience working with the module. But it seemed that every time a problem was resolve, another few reared their ugly head. In the end, I have concluded that the NodeMCU/Lua development environment (at least at this time) is not suitable for ESP8266 application development.

Here is why…

#1. Insufficient memory provided for your application

This environment does not compile your application, but rather interprets it while running. And every byte counts, including code comments. They all reduce the available free heap. Anyone that has worked with the NodeMCU/Lua development has encountered the “not enough memory” wall. It does not take much code and you start scrounging for bytes just to get the script to run.

I tried to work around this by creating smaller scripts with limited functionality and switching between them with module resets to start a different lua script. Before resetting, the code would simply write the name of the next script to start in a file, which the lua start-up script would read and call upon reset. Each time the device reset, the free heap was freed to it’s maximum size. The code was restarted based on the request received from a web client. Besides being a clumsy way to code, it was also unreliable as the resets did not always start up correctly.

#2. Web Server stops replying to client

During repeat-ability testing, I noticed that at some point, usually within a few web browser requests, the ESP8266 simply stopped replying to “http GET” requests. I expected the application to respond to the same request in the same manner every time, but this proved not to be the case. Perhaps this might be related to the well known issue with the memory usage lingering, reducing the free heap until the system stops functioning.

#3. Crashes

Many times, I would start the application with a restart. The first time an “http GET” request was sent, the system would crash. Reset it again and it would work. Without changing anything! Ugh…not very repeatable. One can only endure this so long…

#4. Better options

After circling the wagons with NodeMCU/Lua for over a week, insanity set in. I really was expecting different results. But nooo – the problems persisted.

So I investigated other options.

The Espressif SDK offers native ESP8266 support. Your code is developed in C language and compiled.  There is plenty of space available for your application. It seemed to be a far more robust development option than using NodeMCU. With the SDK, you have direct control of the callback function registration and content. And the make file output provides a clear picture of the memory usage and partitioning. But, unfortunately, I discovered some issues with the ESP8266 SDK (Version 1.0) that forced me to abandon it as well, at least for now. I really did like this IDE and anxiously await the problem resolving updates.

I am currently using the Arduino IDE for ESP8266 application development. While not as robust as the SDK, this is the only development environment that I have found (at this time) to work. But here, too, this environment is still under development. The Arduino IDE for ESP8266 has unique issues of it’s own.


Loading

Share This:
FacebooktwitterredditpinterestlinkedintumblrFacebooktwitterredditpinterestlinkedintumblr

Why I stopped using the ESP8266 SDK

Update: The issues I had with the ESP8266 SDK Version 1.0 have been fixed with the Version 1.0.1 release dated 24 April 2015. And now, Version 1.1.1 has been released with even more enhancements.

As result I am once again using the EspressIf SDK, my preferred development platform for the ESP8266. It is feature rich, offers low-level control and a very large pool of programming memory space for your application.

The issues I had were corrected with the addition of the mDNS (multicast domain name server) API. This feature has the ESP8266 advertise  it’s presence, which has made firmware developed using the SDK and my router accessible from the global internet.

Original post (no longer applicable):

esp8266-sdk-ISSUES

I was very hopeful that the ESP8266, with it’s rich programming environment, would overcome the shortcomings that forced me to abandon the NodeMCU/Lua setup for code development.

Wrong!!!

After working with the SDK for a couple of weeks (perhaps 60 hours), I was ready to put up the white flag and surrender. This ESP8266 was just too much of a time suck, with no payoff. The SDK also has issues.

Despite the seeming lower level control of the code than the highly abstracted Lua language, I found calls to the compiled SDK core objects that would, for no apparent reason, stop working as expected. Without a clue as to why. The two issues that I could not get a grasp on, and could not find an answer in any on-line sources were:

1. The server stopped responding to “http GET” requests

2. The server will not respond to “http GET” requests without initializing a DNS

Issue1: The server stopped responding to “http GET” requests

I started with the SDK example IoT_Demo. This compiled easily, and soon after flashing it to my ESP8266, I was able to see web browser replies from my “http GET” requests. Great! Or was it?

It did not take long for me to discover two issues. First, I notice that after running some web browser tests for a minute or so, the ESP8266 would suddenly just stop responding to the requests. In order to verify whether the ESP8266 had crashed, I put a print statement out to the serial port periodically with a timer callback. A new message was sent every 2 seconds. What I noticed was that the serial port messages would still occur after the ESP8266 stopped responding. And using Wireshark to monitor network traffic, my router started sending ARP request to the ESP8266 soon after it stopped responding to “http GET” requests.

The ESP8266 did not respond to the ARP queries.

I tried to spoof the ARP response with a packet generator but that did not satisfy the router and the network access remained blocked.

The network connectivity is always restored by resetting the ESP8266. That is probably because the WIFI connection and IP/MAC relationship with the router is established at that time. It seems that there is a timeout period after ESP8266 connection to my WIFI network. After that timeout period, the router wants to renew or refresh it’s ARP cache by sending an ARP request to the ESP8266.

I did set up a DHCP reservation for my ESP8266 in the router, but that did not resolve the problem.

I never did get to the bottom of this and could not find an answer on-line from searches and posing a forum question.

Issue2: The server will not respond to “http GET” requests without initializing a DNS

Determined to find the root cause of the first issue noted above, I dug deep into the exampe IoT_demo code, I found that a DNS was started during initialization. Was that really needed? I did not think so, especially since I wanted to operate in station only mode, not AP mode. But what I found was that if the DNS was not started, the ESP simply would not respond at all to “http GET” requests. After tracing deep into the code, the DNS used was located in China (EspressIf of course!). This made me both uneasy and suspicious. So I changed the DNS to the Google DNS IP (8.8.8.8 and 8.8.4.4). Neither one of those worked!

I am not sure if the server’s failure to respond to requests with starting the DNS was related to the DNS link or something in the callback that periodically (once each 1000 ms) checked the DNS. But this was getting way too complicated for what has been touted as a simple, easy IoT development platform.

With that in mind, I switched development platforms again. This time, to the Arduino IDE version 1.6.1  for ESP8266. This platform did not exhibit any “http GET” drop-outs during a 23 hours stress test.

Loading

Share This:
FacebooktwitterredditpinterestlinkedintumblrFacebooktwitterredditpinterestlinkedintumblr

4 ways to eliminate ESP8266 resets

Remember the movie “Groundhog Day “? Original Saturday Night Live cast member Bill Murray re-lives Groundhog Day over and over again. And still again. Kinda like the ESP8266 when it repeatedly resetting… Nothing you try makes a difference!

If you have worked with the ESP8266 for any length of time, you have undoubtedly experienced the endless resets on power-up. The looping message occurs at about 5 second intervals, which seems to be the default internal watchdog timer time-out period. The message, at 115200 baud, looks something like this:

ets Jan 8 2013,rst cause:4, boot mode:(3,7)
wdt reset
load 0x40100000, len 30000, room 16
tail 0
chksum 0x67
load 0x3ffe8000, len 2556, room 8
tail 4
chksum 0xb7
load 0x3ffe8a00, len 3080, room 4
tail 4
chksum 0x59
csum 0x59
r”

I have yet to come across a definitive explanation for this behavior.

Is this the boot-loader?

The core firmware?

Perhaps a chip defect?

From what I have experienced and read from other users, there are two likely hardware causes that makes logical sense:

  1. Inadequate power supply interface
  2. A flash chip failure.

In order to prevent resets, you must include the following three features in the power source to the ESP8266.

  1. Sufficient current. A regulated 3.3V source of at least 500ma is essential. Aside from the 300ma peak current needs of the ESP8266, it is essential to also consider the current requirements for other components you have – like the sensors and controls in your circuit.
  2. A large capacitor (suggest using 470 uF) across the Vcc to Gnd rails on your breadboard or PCB is a vital ingredient that will minimize reset inducing voltage fluctuations.
  3. A 0.1 uF decoupling capacitor across the ESP8266 Vcc to Gnd inputs very close to the pins (within 1/2 inch). DO NOT SKIP THIS COMPONENT! This cheap yet often overlooked component, when missing, is the root cause of ESP8266 resets.

Even with these power supply precautions, we know the flash chip (25Q40) used with many of these ESP8266 module is of low quality and fails after only a few flash cycles. Perhaps sending the code somewhere that it never returns from. Triggering the watchdog timer to reset the unit.

I currently have some replacement flash chips on order and shall see if replacing that chip does indeed remedy the unwanted power-up resets. Unfortunately, my ESP8266-12 (-7 also) has a metal shield over the active components, including the flash chip. This will have to be removed in order to gain access to the memory chip. Removing the shield will require a heat gun—and may very well damage the ESP8266 component. That will be done as last resort, when the reset loops appear to be a permanent condition, rendering the module a “brick”.

But for me, I have not had either of my 2 prototyping ESP8266 assemblies fall into a non-repairable reset loop state yet. If the power supply measures noted above are in place, but you are still experiencing resets, here are a few steps I have been taking with some success to bring back to life an ESP8266 stuck in a ‘Groundhog Day’ reset loop:

Note: Since the entire ESP8266 module is so cheap, if you do not wish to invest your precious time in reviving your module, simply chuck it and start again with another unit. Otherwise, read on, here are 4 methods to correct an ESP8266 stuck repeating reset loops endlessly…

1. Check your connections

This seems obvious. But I have not seen this to be a problem with other MPUs, like an Arduino, Spark Core and even PIC processors.

But my first two ESP8266 set-ups use a standard solder-less breadboard. I have heard that the ESP8266 is very sensitive to intermittent connections, and the solder-less breadboard is not recommended. And sure enough, it has been a problem in my setup. While I have since switched to use soldered contacts on a prototyping vector-board, I am still using the two original breadboards for initial testing. Using these units to limit the flash cycles on the more permanent soldered set-ups.

I have already flashed these 2 initial units a couple hundred times, and counting…

Solder-less Breadboard

Solder-less breadboard set-up

After many frustrating and unsuccessful attempts to revive my original setup out of reset purgatory, I made a final inspection of the jumpers and found a few of them only partially engaged.

After securing all the connections again…

The phoenix rose from the ashes. Yes, I had just about given up on this unit And now, the next flash successfully restored the set-up out it’s reset loops. The module was spared the life threatening heat gun!

ESP8266 secured on a PCB

Soldered Printed Circuit Board set-up

2. Clear the memory

Along with securing connections, flashing some of the original binaries back into the module has always worked for me to clear the reset problem, so far. As I have already mentioned, it appears that the code gets stuck somewhere that it never returns from, resulting in a wdt reset. This would seem to be as result of corrupted memory. So clearing the flash memory, if possible, should correct the endless reset condition.

Here is what I have found to work:

2.1 Flash AT command set

Flash the ESP8266 with original AT command binary. In case you do not have the flasher, one place to get it: https://drive.google.com/file/d/0B3dUKfqzZnlwVGc1YnFyUjgxelE/view

Restarting the module in normal mode (GPIO2 HI) should result in a 115200 baud start-up message ending with “ready”. And it should respond to the “AT” command with “OK”.

If so, sweet! –-you are good to go.

But it is not always resolved that easily. Sometimes you got to dig deeper. If, your start-up message ends with “jump to user1” and then stops, additional steps will be needed to restore the module.

2.2 Flash blank.bin

Flashing the blank.bin file, which comes with the nodemcu flasher program, is another method to clear the memory. Using the nodemcu flasher, flash the 4K blank.bin to the following 5 starting addresses:

0x00000, 0x01000, 0x40000, 0x7c000, 0x7e000

Then repeat “2.1 Flash AT command set” above.

2.3 Flash blank to the entire 512 kbytes

I have also created a 512 kbyte version of the blank.bin file to clear the entire flash chip. After flashing this file to 0x00000, the entire flash memory address space is cleared.

After clearing the entire flash chip, I have found it necessary to flash the 4 files in the following zip.

https://developer.mbed.org/media/uploads/sschocke/esp_flasher.zip

Once this is complete, again, repeat “2.1 Flash AT command set” above.

3. Replace the flash memory chip

When all else fails, replace the flash memory chip. This involves soldering to remove the faulty 8-pin device and replacing it with a new one. While I do not have a known source to recommend, there are many to choose from on Aliexpress.com. Like the ESP8266, the flash chips are inexpensive, but there is no way to know for sure about the quality. At a minimum, read the reviews from other buyers before placing your order.

4. Software design considerations

There have been problems experienced that could not be overcome using the nodeMCU/lua and SDK development environments. I will write a blog post soon to document those issues. So the following considerations use the Arduino IDE, which is the only development IDE that has been both effective and reliable in implementing my program requirements at this time…

I have yet to find any information that provides the developer much control over the watchdog timer (wdt). The API simply allows you to enable/disable the timer and to “feed” it. I assume “feed” resets the timer although I have not found any documentation to support that assumption. I have found the following steps necessary to eliminate my IoT software application induced resets:

  • The wdt is enabled by default. It should be enabled during normal application operation. If it is disabled in software, instead of resetting, the ESP8266 will halt when a wdt timeout occurs.

  • It is important to return control to the processors periodically. This is done using the yield() or delay() statements. For example, sensor readings requiring more that 0.5 seconds to complete should be followed by a yield() or delay().

  • In addition to yielding control, I have found it necessary to “feed” the wdt periodically to prevent time-consuming tasks from tripping a wdt reset.

Hopefully this helps someone who has struggled with unwanted module resets.

Loading

Share This:
FacebooktwitterredditpinterestlinkedintumblrFacebooktwitterredditpinterestlinkedintumblr

Using ESP8266 with Arduino IDE 1.6.1 and BMP085 library


As I have continued to port my home sensor measurement tasks over the low-cost ESP8266 units, the next driver needed was for the Barometric Pressure Sensor. I have been using the popular BMP085 module for this purpose. The library for this sensor is at:

https://github.com/adafruit/Adafruit-BMP085-Library

Problem: There is one incompatibility using this library with the ESP8266 Arduino IDE platform. When attempting to compile a sketch that uses this library without modification, an error is encountered:

Adafruit_BMP085.cpp:(.text+0x3b8): undefined reference to `pow’

This occurs because the library is not properly linked to the core math.h library.

And changing the platform.txt file linker options to include “-lm” only makes things worse. In that case, the compiler returns an error that there is insufficient space to load the ‘.text’ segment.

Any implementation in c that involves fractional power (such as a double value that is not an even integer) requires the log function, also a math function. And the math.h library does not link correctly when compiling a sketch. So until this is addressed in the Arduino IDE build, the pow function simply cannot be used. Fortunately, pow is only required for the calculated value of altitude. Therefore, the bmp085 altitude features value cannot be used until the Arduino IDE for the ESP8266 supports it.

Solution: For now, BMP085 library can be tweaked slightly to make it usable with this IDE.

What I have not found is an acceptable substitute for the function implemented in c code. I tried some of the recursive algorithms available on the net to replace the missing function. But none of them worked properly. They either hung in endless recursive calls to the function or returned incorrect results.

What does work is the addition of a dummy function to the BMP085 library to replace the math.h “pow” that cannot currently be linked to properly . The name of the function must also be revised to avoid a conflict with the math.h prototype.

Here is the code I added to the BMP085 library, it now compiles properly:

double powr(double a,double b){
return 1.0;
}

Note that the function name was changed from “pow” to “powr”.

And remember to change the function name in the library code. It occurs in two places.

Here:

int32_t Adafruit_BMP085::readSealevelPressure(float altitude_meters) {
float pressure = readPressure();
return (int32_t)(pressure / powpowr(1.0-altitude_meters/44330, 5.255));
}

And here:

float Adafruit_BMP085::readAltitude(float sealevelPressure) {
float altitude;
float pressure = readPressure();
altitude = 44330 * (1.0 – powpowr(pressure /sealevelPressure,0.1903));
return altitude;
}

Remember, this will result in bogus values for altitude. But it will allow you to use the BMP085 device with the ESP8266 Arduino IDE version 1.6.1 to retrieve the sensor’s pressure and temperature readings.

Hope someone finds this information useful…

Loading

Share This:
FacebooktwitterredditpinterestlinkedintumblrFacebooktwitterredditpinterestlinkedintumblr