 Here’s a handy gem for your bag of tricks. Did you know that a native Android App can be developed using only the web familiar html, javascript and css? Without the need to dig deep into the bowels of the OS.
Yep, it is definitely possible – all while still offering control of all your device’s interfaces such as cameras, bluetooth, wifi…you name it. You see, the hardware dependent components are supported with an Apache developed framework called Cordova. And while this article focuses on the Android platform, the same App can easily be ported to ios or Amazon Fire, with little or no change. Making it possible to develop your App once for distribution across several different device types.
Here is how to setup the development environment and install an application on an Android device.
Setting Up The Environment
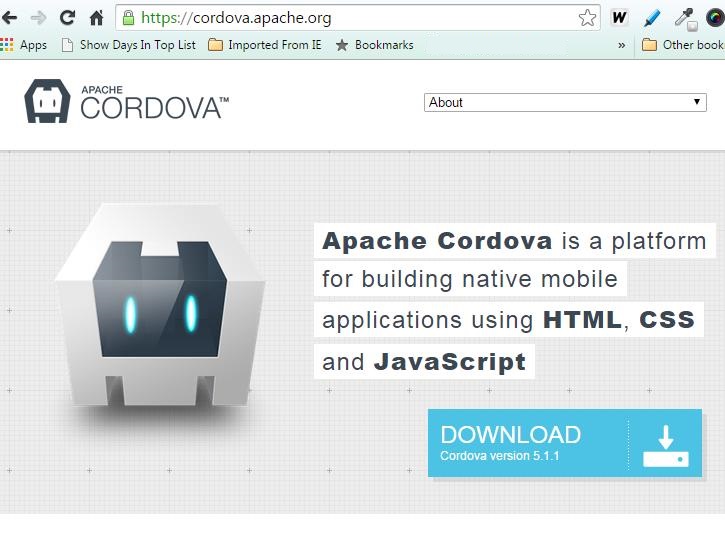
The trick is using Cordova to provide a platform for building native applications using only HTML. CSS, and Javascript.
What is Cordova?
This is a group of APIs supporting the development of native Apps without using the language of the device. These APIs provide access to the device’s hardware sensors. And with a few simple steps, you are up and running, developing your unique application.
Step 1:
Install node.js from nodejs.org
This will allow you to run “node” and “npm” from a command line window.
Step 2:
Install a git client from http://git-scm.com/.
This will allow you to invoke “git” from a command line.
Step 3:
Install the Cordova module using npm by entering the following at the command line:
npm install -g cordova
Step 4:
Setup the Eclipse for Android App Development Environment by following the following instructable:
http://www.instructables.com/id/How-To-Setup-Eclipse-for-Android-App-Development/?ALLSTEPS
Creating A New Application
Step 1:
Open a cmd windows.
Step 2:
Change directory to the base directory for your workspaces (your choice).
Cd c:\myworkspace
Step 3:
Create new folder with app name (no spaces):
mkdir mynewapp
cd mynewapp
Step 4:
Create app file structure:
cordova create appfiles com.author.mynewapp MyAppTitle
Where
- “appfiles” is the folder to create the app file structure
- “com” is the convention used to start the app filename
- “author” is the developer or company name or initials
- “mynewapp” is the bame of the app
- “MyAppTitle” is the title of the app
Step 5:
Add platform (android or ios)
cd appfiles
cordova platform add android
Step 6:
Add plugins as needed (basic required plugins;device,console,file shown here)
Get plugin names from plugins.cordova.io/#/ Then enter the following for each plugin to be added:
cordova plugins add org.apache.cordova.device
cordova plugins add org.apache.cordova.console
cordova plugins add org.apache.cordova.file
In the future, plugins will be delivered using npm. See the instruction at plugins.cordova.io/#/ for more information regarding npm plugin delivery.
Building the Application
Step 1:
Open Eclipse
Step 2:
Install your USB cable from the PC running eclipse to the Android device.
Step 3:
Select Import from the File menu.
Step 4:
Select the base folder created for the newly created project.
Step 5:
First Select “Clean” from the Project Menu.
Step 6:
Then Click on the “Run” icon to build and launch the new app on your device
Editing The Application
The App starts with the launching of the index.html file located at:
<your base app workspace folder>\iotmobile\appfiles\platforms\android\assets\www
this file should be edited to change the functionality of the App. Javascript/Jquery and css files can similarly be customized. They are located at:
<your base app workspace folder>\iotmobile\appfiles\platforms\android\assets\www\js
Conclusion
There you have it!
A quick reference to setting up the Android Development Environment, creating a blank project, building the App and finally loading running it on your device. Now it’s your turn. What will you create?
I hope you find this information useful…