
All Under One Roof
The LAMP server in this series has been built using the Precise Puppy Linux Distribution. But in my case, I had experimented with several different distributions. And my development environment for compiling code was on a different distribution of Linux than the LAMP. In addition, the main application in this other Linux distribution, an MQTT Broker, is needed often for IoT setups.
This became very messy. Swapping out the USB sticks for different projects. The solution is obvious. Consolidate the development environment and the MQTT Broker into the USB LAMP Server.
One USB stick for everything…
Web Server, mySQL, WordPress, MQTT Broker, and other application that needs to be compiled.
These added capabilities have been broken down into two parts:
USB LAMP Web Server Part 6 – Code Compiler
USB LAMP Web Server Part 7 – MQTT Broker
Adding the Code Compiler
First thing to do is to get the Linux development tools for the Precise Puppy Distribution. They are bundled in the file “devx_precise_5.7.sfs”, which you can download here.
Copy this file to the USB LAMP drive root directory (from a Windows OS computer).
Now let’s configure the USB LAMP to startup with the development tools. Here is how to do it…
Start the USB LAMP.
First, click on the menu in the lower left hand of the start-up screen, selecting:
Menu>System>BootManager configure bootup
Click on the icon to the right of “Choose which extra SFS files to load at bootup:”
Select “devx_precise_5.7.sfs” and click “OK”.
Now close all the open windows and reboot Linux from the menu.
Menu>Exit>Reboot
That’s it!
Everything you need to create and execute programs are now installed. To test this setup, let’s code and run the classic “Hello World!” program…
Let’s keep things tidy by creating a folder for programs we create. And to keep things visible when we use the USB stick with the Windows OS running, the folder needs to be located under the “Home” folder. That is the Linux folder that appears as the “root” folder under the drive letter assigned by Windows.
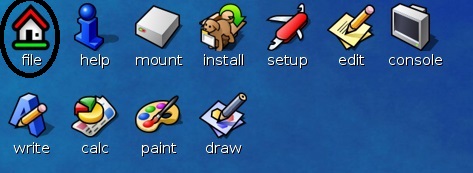
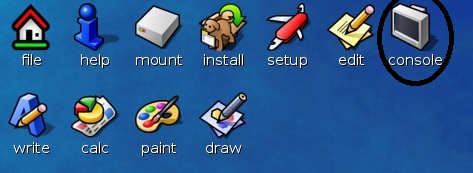
To navigate to the Home folder using the Puppy GUI, first click on the “file” icon from the startup screen.
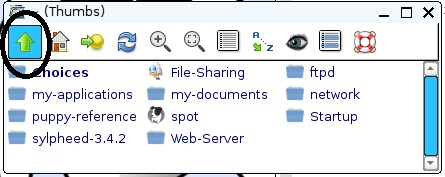
Click on the left “up arrow” icon to get to the parent folder.
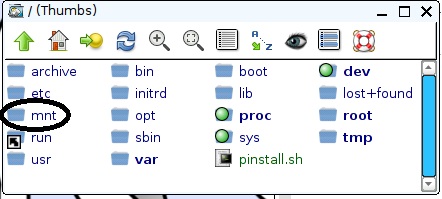
Then select the “mnt” folder.
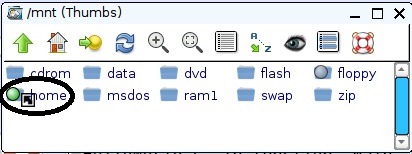
And finally, the “Home” folder.
To create a folder, right-click the mouse in the home folder list of files and select:
New>Directory
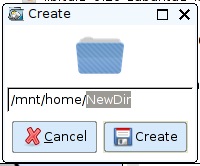
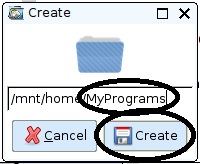
Change “NewDir” to “MyPrograms” and click on the “Create” button.
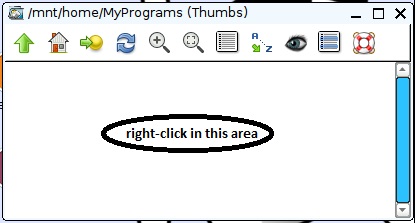
Now click on the “MyPrograms” folder. We shall now create one additional folder under this one for our first program. Just like before, to create a folder, right-click the mouse in the MyPrograms folder list of files and select:
New>Directory
Change “NewDir” to “HelloWorld” and click on the “Create” button.
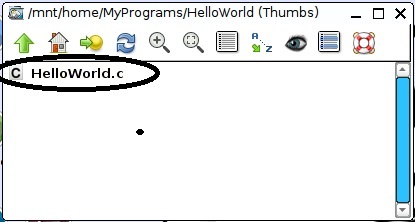
Now click on the “HelloWorld” folder. This time, to create our source code file, right-click the mouse in the HelloWorld folder list of files and select:
New>Blank file
Change “NewFile” to “HelloWorld.c” and click on the “Create” button.
Click on the file listed as “HelloWorld.c” to open the file editor.
For the minimal first program, enter the following:
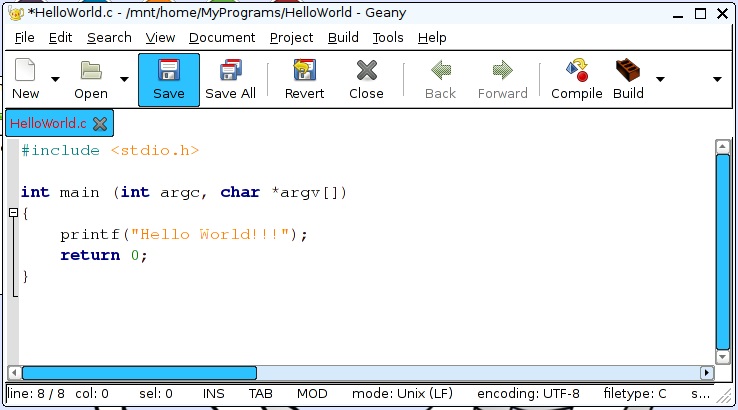
Click on the “save” icon to finish the creation of this file.
Now we need a “Makefile” to define how to compile and build the program. This will be a minimal Makefile for this first program. Just like the “c” file, create a file named “Makefile” and enter the following contents:
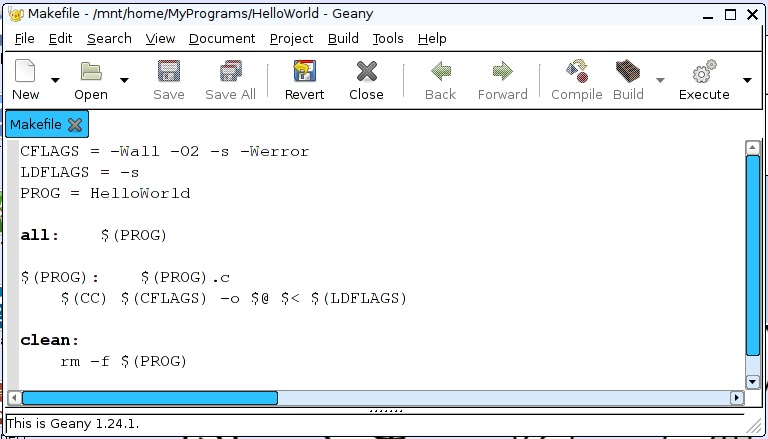
Got it?
Now we are ready to build and execute the program. This can be done two different ways.
- Using the GUI editor we currently have open.
- From the command line.
Since the GUI file editor is already open, let’s first build and run the program from that environment. This is really easy. Like 1-2-3…
Build and Execute Using the GUI
Step 1: Select the “HelloWord.c” source code file tab.
Step 2: Click on the “Build” icon.
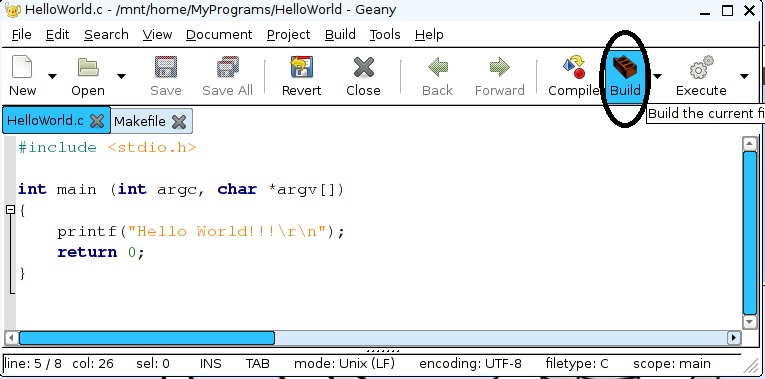
Step 3: Click on the “Execute” icon.
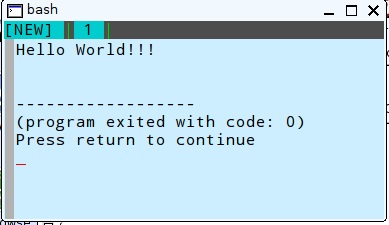
Our one-line “prinf” command correctly displays on the console when the program is executed.
That’s great for a quick compile and run. But what I found is that if your program contains errors, nothing is displayed indicating what went wrong. Fortunately, there is a way to get needed error messages, when they occur. It requires you to use the command line to build and execute.
Fear not! It really is not that difficult…
Build and Execute Using the Command Line
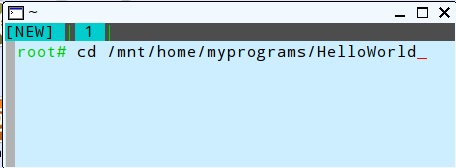
Now let’s do the same thing from the command line. To open a command line window, click on the “console” icon.
Then switch to the HelloWorld Folder:
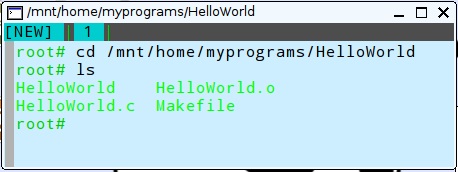
You can view a directory listing now to verify the source and “Makefile” files are present with the “ls” command.
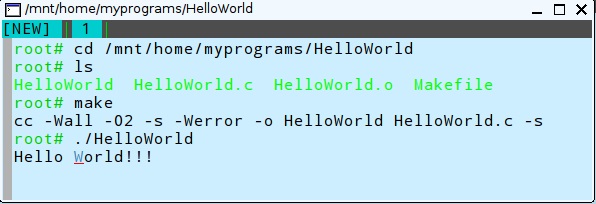
Now we can build the program with the command “gcc -o HelloWorld HelloWorld.c”. And run the program with the “./HelloWorld” command.
That’s it. You are now setup to build and execute programs built for Linux.
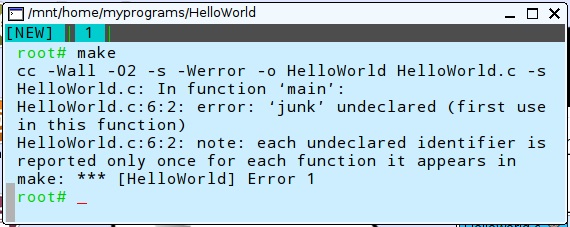
Now let’s see what happens if we put an error into the program. Enter a bogus line after the printf statement. Like “junk;”, for example. When we try to “make” this program with the error injected, an error is returned. Unlike the GUI, with no error information provided, this provides you with an indication of what went wrong.
So you can quickly correct the error.
Conclusions
Here you have a simple reference to use to setup a Linux development environment. It is another tool to add to your “bag of tricks”. You never know when it will be needed. Like when the only solution available must be run using Linux.
Now that we have the development environment setup, we are set to build and configure an MQTT Broker on our USB LAMP. That will be the topic covered in my next post.
Hope you find this information useful.
Social tagging: LAMP Server > LAMP Server compiler